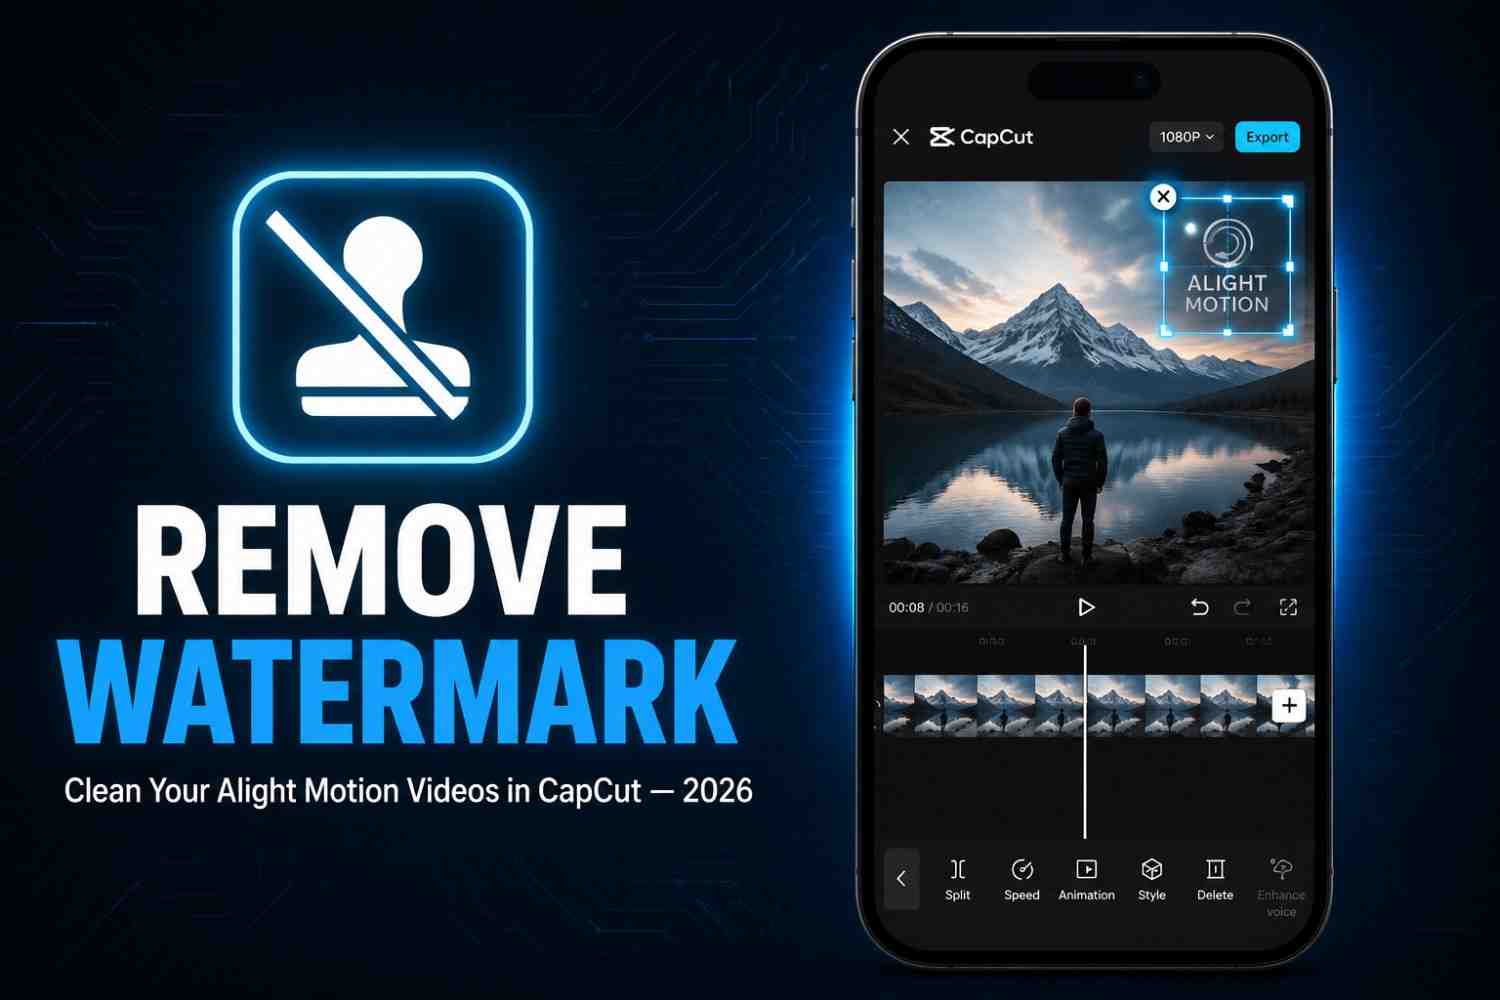
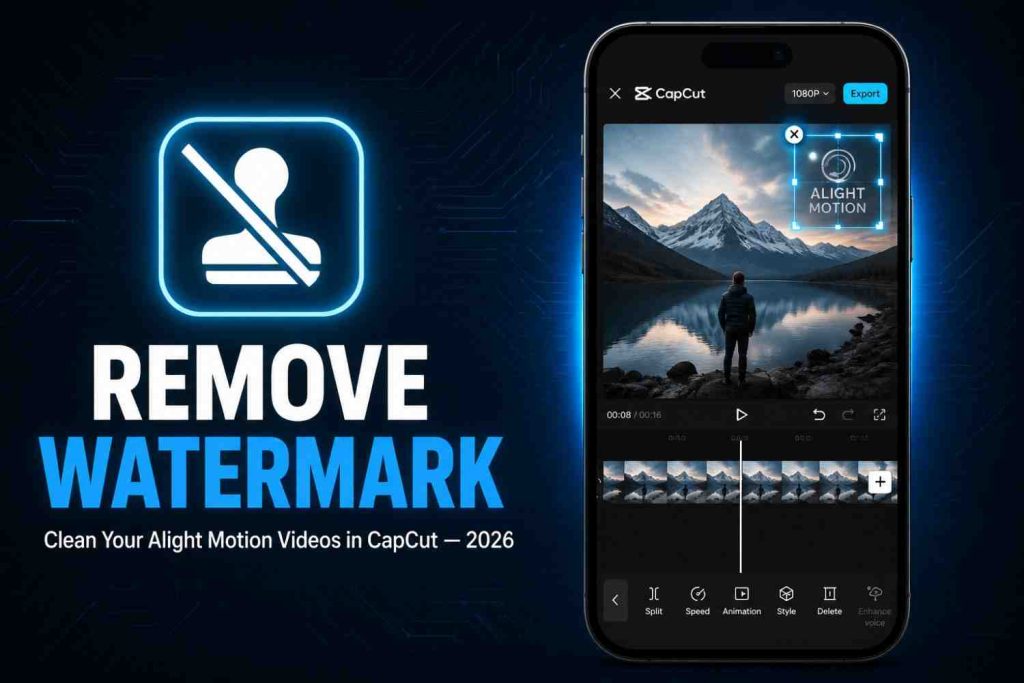
How to Remove Alight Motion Watermark in CapCut? (Easy Guide)
I edit most of my reels in Alight Motion first because the animation tools are just better, then I bring the clip into CapCut for the final polish. The one thing that ruins that workflow every time? That little watermark sitting in the corner, reminding everyone the video wasn’t made on a paid plan.
After testing a few clips that looked almost professional except for that one detail, I sat down and tried every method CapCut APK offers to deal with it. Some worked well, some wasted my time. This guide covers everything that actually worked when I tried to remove the Alight Motion watermark in CapCut, minus the trial and error.
What Is the Alight Motion Watermark?
If you’ve exported even one project on Alight Motion’s free plan, you already know the watermark a small logo or text stamp that sits somewhere on your frame. It’s not a bug, it’s a deliberate limit built into the free version.
Why Does Alight Motion Add a Watermark?
Alight Motion is a freemium app, and the watermark nudges free users toward the paid subscription. It’s the same model most editing apps use: give away powerful tools, but tag the output until someone upgrades.
When Does the Watermark Appear?
It shows up automatically the moment you export without an active Alight Motion Pro subscription. It doesn’t matter how clean the footage is every free export gets stamped.
Why Remove the Alight Motion Watermark?
I used to think a small watermark wasn’t a big deal until I compared two versions of the same reel side by side. The clean one performed better, and that’s exactly why so many editors bother to remove the Alight Motion watermark in CapCut before posting anything.
Create Cleaner Videos
A watermark pulls the eye away from your content. Once it’s gone, viewers focus on what you actually wanted them to see.
Improve Content for Social Media
Platforms like Instagram and TikTok reward content that feels native to the app. A visible watermark from another tool makes your post look recycled, which can quietly hurt reach.
Make Videos Look More Professional
Followers notice small details more than we think. A watermark-free export signals real effort, even if the edit only took ten minutes.
How to Remove Alight Motion Watermark in CapCut?
This is the part most people search for, so here’s exactly how I do it, step by step.
Import Your Alight Motion Video
Open CapCut, start a new project, and pull in your exported Alight Motion clip like you normally would.
Crop the Watermark
If it sits in a corner, CapCut’s crop tool can trim that section out. Pull the edge in just enough to lose the mark without cutting off anything important.
Use Background Blur
When cropping isn’t an option because the mark sits closer to the center, add a blurred background instead. This stretches your frame outward so the original footage stays intact.
Remove It with the Overlay Method
My personal favorite for stubborn placements. Drop a text sticker, logo, or graphic over the watermark using CapCut’s Overlay feature, then resize it so it blends in naturally.
Hide the Watermark Using Chroma Key
If the watermark is a solid, flat color, CapCut’s Chroma Key tool can key it out. Pick the exact color, adjust the intensity slider, and it fades into the background behind it.
Export the Final Video
Once handled, export in the highest resolution CapCut allows for your plan. A good fix can still look bad if the final export is compressed too much.
Best Practices for a Clean Edit
A few habits made a real difference once I started applying them, and they’re worth knowing before you try to remove Alight Motion watermark in CapCut on your own footage.
Export in High Quality
Always export at 1080p or higher. Lower resolutions make cropping or overlay work far more obvious than it needs to be.
Keep the Video Natural
Match the blur, overlay, or crop to the rest of the video’s style. A mismatched fix draws more attention than the original watermark did.
Check the Final Preview Before Saving
I skipped this once and regretted it scrub through the whole clip in preview before exporting, just to catch anything that looks off.
Alternatives to Remove Alight Motion Watermark in CapCut
CapCut isn’t the only route here, and depending on your situation, one of these might save you time.
Export Without a Watermark from Alight Motion
Upgrading to Alight Motion Pro removes the watermark at the source, so you skip the CapCut workaround entirely.
Recreate the Project in CapCut
For simpler projects, it’s sometimes faster to rebuild the animation directly in CapCut instead.
Use Licensed or Original Project Files
If you own a template outright, check whether an unmarked version exists before editing around a watermark at all.
Common Mistakes to Avoid
I made most of these myself before figuring out what not to do, so hopefully this saves you the same headache when you remove the Alight Motion watermark in CapCut.
Cropping Too Much of the Video
Trimming too aggressively to guarantee the mark is gone often cuts important parts of the frame with it.
Poor Overlay Placement
An overlay that doesn’t match the video’s lighting or angle looks more out of place than the watermark it’s covering.
Low Export Resolution
Exporting at a lower resolution to save time undoes the careful editing you just did.
Ignoring Video Quality After Editing
Rewatch the final export at full size quality drops are easy to miss on a phone screen but obvious on anything larger.
Frequently Asked Questions
Can I remove the Alight Motion watermark in CapCut for free?
Yes. Cropping, blur, overlay, and Chroma Key all work within CapCut’s free features.
Does removing the watermark reduce video quality?
Not if you export at 1080p or higher. Quality loss usually comes from a low export setting, not the removal method itself.
Which CapCut tool works best for hiding the watermark?
It depends on placement. Overlay works well for corner watermarks; Chroma Key suits solid-color marks near the center.
Is cropping better than using the overlay method?
Cropping is faster but risks losing part of your frame. Overlay takes longer but preserves the original footage.
Can I remove a watermark without affecting the original video?
Yes. CapCut edits a copy of your imported clip, so your original Alight Motion export stays untouched.
Conclusion
Once you’ve gone through this a couple of times, removing the Alight Motion watermark in CapCut becomes second nature. Start with the Overlay method if you’re new to this it’s the most forgiving while you get a feel for the tools. From there, mix in cropping or Chroma Key depending on where the mark sits on your clip. Do it right, and nobody watching will ever guess it started out with a stamp on it.