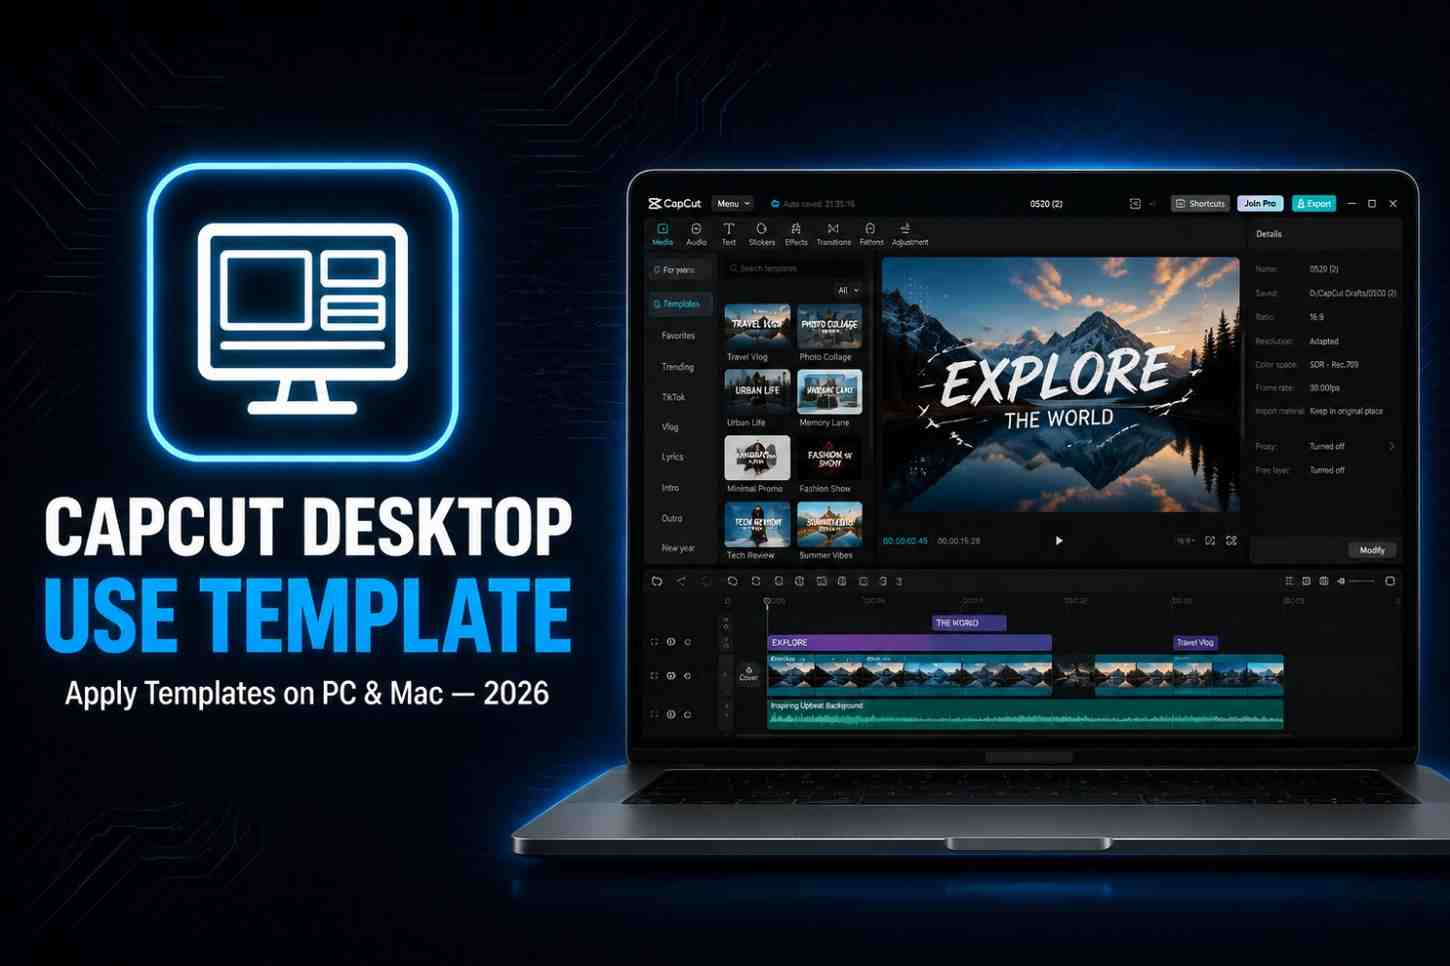
How to Use Template on CapCut Desktop?(Step-by-Step Guide for PC)
I still remember the first time I sat down to edit a video for a client on my laptop instead of my phone. I was so used to CapCut on mobile that opening the desktop version felt like sitting in a completely different cockpit. But once I figured out how to use a template on CapCut Desktop, everything changed. What used to take me an hour on my phone trimming, syncing music, adding transitions started taking me under ten minutes. That’s the real power of templates, and in this guide, I’ll show you exactly how to use CapCut templates on PC, step by step, along with a few mistakes I made early on so you don’t repeat them.
What Is CapCut Desktop?
CapCut Desktop is the PC version of the popular CapCut video editor, built for people who want more control, a bigger screen, and faster rendering than what a phone can offer. It’s free to download for Windows and Mac, and it comes packed with the same effects, filters, and template library you’d find on mobile, just with a proper timeline and keyboard shortcuts.
Honestly, once you switch from mobile to desktop, going back feels painful. On my phone, my thumb would always slip when I tried to trim a clip precisely. On desktop, I can zoom into the timeline, use my mouse to nudge a clip by a single frame, and keep multiple projects open in tabs while I work.
That’s exactly why so many creators, editors, and small business owners prefer the desktop version. It’s not just about a bigger screen it’s about speed, precision, and being able to multitask without your phone overheating in the middle of an export.
What Are CapCut Templates?
A CapCut template is basically a ready-made video structure. Someone has already done the hard part picking the transitions, syncing the beats, positioning the text boxes and all you have to do is drop your own photos, clips, and captions into the empty slots. Once you understand this, learning how to use CapCut templates on PC becomes much less intimidating.
Think of it like a cake that’s already baked and decorated; you just need to add your own candles and write the name on it. That’s how templates simplify video editing for beginners and busy creators alike. You don’t need to understand keyframes, easing curves, or audio waveforms. You just import your media, and the template handles the timing and style for you.
Some of the template types I use most often include:
- Travel and adventure templates: great for turning a folder of vacation photos into a highlight reel in minutes.
- Birthday and celebration templates: perfect for quick, colorful montages for family occasions.
- Business and promo templates: clean, professional layouts for product launches or service ads.
- Wedding and event templates: soft transitions and elegant text, ideal for special occasions.
- Trend-based social templates: the ones you see going viral on Instagram Reels and TikTok, updated almost weekly.
System Requirements to Use CapCut Templates on PC
Before you install anything, it’s worth checking whether your PC can actually run CapCut Desktop smoothly. I’ve had a friend try to edit a 4K wedding video on an old laptop with 4GB of RAM, and it kept freezing mid-export. Don’t make that mistake.
Windows requirements:
- Windows 7 or later (Windows 10/11 recommended for stability)
- Intel i3 processor or equivalent, minimum
- At least 4 GB RAM (8 GB or more recommended)
- 2 GB of free storage space
macOS requirements:
- macOS 10.13 or later
- Intel or Apple Silicon (M1/M2/M3) chip
- Minimum 4 GB RAM
- 2 GB of free disk space
Recommended specifications (for smooth 4K or template-heavy editing):
- 8 GB RAM or higher
- A dedicated graphics card (even an entry-level GPU makes a noticeable difference)
- SSD storage instead of HDD, since templates with heavy effects load faster
If your system just meets the bare minimum, templates will still work, but expect a bit of lag when previewing effects-heavy designs. Upgrading your RAM is usually the cheapest fix if that happens.
How to Use Template on CapCut Desktop? (Step-by-Step)
This is the part everyone actually wants the real process of how to use a template on CapCut Desktop, broken down exactly the way I do it every single time.
Step 1: Download and Install CapCut Desktop
Go to the official CapCut website and download the desktop version for your operating system (Windows or Mac). The installer is lightweight, and setup usually takes less than two minutes. Once installed, launch the app and let it update itself if a newer version is available templates get added constantly, so staying updated means access to fresh designs.
Step 2: Sign In and Open the Template Library
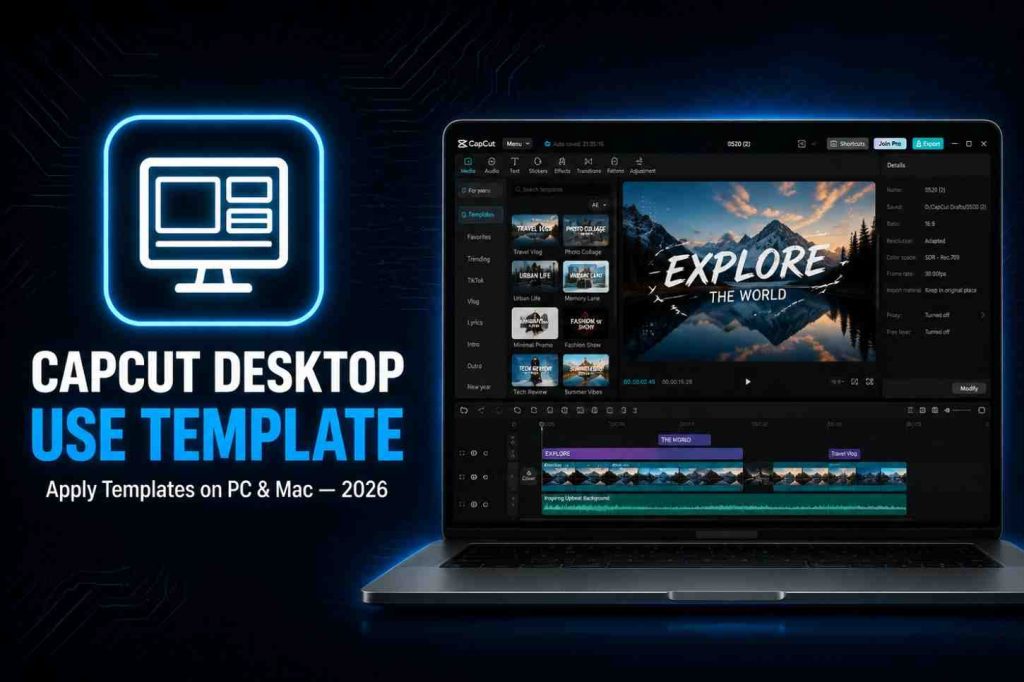
Sign in with your CapCut account (or create one if it’s your first time it’s free). Once you’re inside the main dashboard, look for the Templates tab, usually visible on the home screen or in the left sidebar. This opens the full template library, sorted by categories like trending, vlogs, promos, and seasonal content.
Step 3: Choose the Right CapCut Template
Scroll through the categories and click on any template that catches your eye. CapCut lets you preview a demo of the template before committing to it, which I always recommend doing. Pay attention to how many photo or video slots it has some templates need exactly 8 clips, others need 20, so pick one that matches how much footage you actually have.
Step 4: Import Your Photos and Videos
Once you’ve selected a template, click Use Template, and CapCut will prompt you to import your own media. Drag and drop your photos or video clips directly from your file explorer, or click the import button to browse your folders. Make sure your files are arranged in the order you want them to appear, since the template will slot them in sequentially.
Step 5: Customize the Template
This is where the template truly becomes yours. Every element inside is editable:
- Text: Double-click any text box to change the wording, font, size, or color to match your branding.
- Effects: Swap or adjust the built-in visual effects without disturbing the timing.
- Filters: Apply a color grade or mood filter to keep the tone consistent throughout the video.
- Music: Replace the default audio track with your own, or adjust the volume so it doesn’t drown out any voiceover.
- Transitions: Fine-tune how clips blend into each other, though most templates already sync these to the beat of the music.
I usually spend most of my editing time right here, tweaking text and swapping filters until the pacing feels natural for the platform I’m posting on.
Step 6: Preview and Export Your Video
Once everything looks right, hit preview and watch the full video one last time. If you’re happy with it, click Export, choose your resolution (1080p or 4K, depending on your project), select the format, and save it to your PC. Exports on desktop are noticeably faster than mobile, especially with a decent graphics card.
Tips for Using CapCut Templates on PC
A few things I’ve learned the hard way, after editing dozens of template-based videos:
- Choose high-quality media. A template can only look as good as the clips you feed it blurry footage stands out even more inside a polished template.
- Keep the original aspect ratio. Stretching a vertical clip into a horizontal template (or vice versa) ruins the composition. Crop instead of stretching.
- Match music with transitions. If the beat doesn’t line up with the cuts, the video feels off, even if viewers can’t pinpoint why.
- Use AI editing tools wisely. CapCut’s built-in AI features (like auto-captions or background removal) are great time-savers, but always review the output before exporting.
- Save your project before exporting. Templates involve many layers, and a crash mid-export without a saved project means starting over from scratch I’ve lost a project this way once, and never again.
Common Problems and Quick Fixes
Even with a solid setup, a few issues come up often enough that they’re worth addressing directly.
Template Not Showing
If a template you saw on your phone or on social media isn’t appearing on desktop, it usually means the template hasn’t synced to the desktop library yet, or your app version is outdated. Update CapCut Desktop and check the Templates tab again.
Template Won’t Load
This is typically a connection issue, since templates are downloaded from CapCut’s servers the first time you use them. Check your internet connection, restart the app, and try loading it again. If it still fails, clearing the app cache usually solves it.
Export Failed
A failed export is often caused by low storage space or a corrupted media file inside your project. Free up disk space, check that all imported clips are playing correctly in the preview, and try exporting again in a slightly lower resolution.
Lag or Slow Performance
If the app lags while previewing effects-heavy templates, close other background programs, make sure your graphics drivers are updated, and consider lowering the preview quality setting inside CapCut (this doesn’t affect your final export quality).
CapCut Desktop Templates vs Mobile Templates
People often ask me whether it’s better to use templates on mobile or desktop. Here’s how I break it down:
- Ease of editing: Desktop wins for precision mouse-based control makes fine adjustments much easier than touch controls.
- Performance: Desktop handles heavier, effects-loaded templates without the lag mobile devices sometimes struggle with.
- Features: Both versions share most templates, but desktop tends to get advanced editing tools and batch options first.
- Best use cases: Mobile is great for quick, on-the-go edits between errands; desktop is better for longer, polished projects you plan to publish professionally.
If I’m shooting content while traveling, I’ll do a rough cut on my phone. But for anything going on a brand page or client account, I always finish it on desktop.
Frequently Asked Questions
Can I use CapCut templates on Windows PC?
Yes. CapCut Desktop is fully compatible with Windows 7 and above, and the entire template library is accessible once you’re signed in.
How do I use CapCut templates on Mac?
The process is identical to Windows download CapCut Desktop for macOS, sign in, open the Templates tab, choose a template, import your media, customize it, and export. macOS 10.13 or later is required.
Are CapCut desktop templates free?
Most templates are completely free to use. A smaller selection of premium templates requires a CapCut Pro subscription, but the free library alone covers most everyday editing needs.
Why can’t I find templates in CapCut Desktop?
This usually happens due to an outdated app version or a temporary sync issue with CapCut’s servers. Updating the app and restarting it resolves this in almost every case.
Can I customize every part of a CapCut template?
Yes, nearly everything inside a template is editable text, fonts, colors, filters, music, and transitions can all be changed to fit your own style, so the final video doesn’t feel generic.
Conclusion
Learning how to use a template on CapCut Desktop honestly changed the way I approach video editing. What felt like a time-consuming, technical task became something I can finish during a coffee break. Whether you’re editing a travel montage, a business promo, or a birthday reel, the desktop version gives you the precision and speed that mobile just can’t match.
Start with a simple template, get comfortable with importing and customizing, and within a couple of tries, you’ll be editing like it’s second nature. If you’ve been searching for a reliable way to learn how to use CapCut templates on PC, this is the exact process I use, and it’s the fastest way I know for you to get the same results.