How to Rotate Video in CapCut? (Step-by-Step Guide for Mobile, Desktop & Online Editor 2026)
I still remember the first time I filmed a quick reel on my phone, lying sideways without realizing it, and ended up with a video that played completely on its side. I had two options: reshoot the whole thing or fix it in CapCut. I chose the second one, and that small five-minute fix turned into something I now do almost every week for my own content. So when people ask me about this fix in CapCut, I don’t just recite steps from a help page. I’m telling you what actually worked for me, what tripped me up the first time, and how to avoid the same mistakes.
This guide covers every way you can rotate a video in CapCut, whether you’re on a phone, working from a laptop, or just using the browser version because you don’t want to install anything. By the end, you’ll know exactly how to fix orientation issues, correct a tilted shot, and prepare your video for whichever platform you’re posting to.
Quick Answer: Select your video clip on the CapCut timeline, tap or click the rotate icon in the toolbar, adjust the angle until the orientation looks right, then export. The same basic flow works on mobile, desktop, and the online editor, with only small interface differences between them.
What is Video Rotation in CapCut?
Video rotation in CapCut simply means turning your clip on its axis, usually by 90, 180, or 270 degrees, so it sits the way it’s supposed to. It’s one of the most basic tools inside the CapCut editor, but it solves a problem almost every content creator runs into at some point: a clip recorded at the wrong angle.
A lot of beginners confuse rotate with flip or transform, and honestly, I did too in my early editing days. Rotate spins the entire frame around a fixed point, flip mirrors it horizontally or vertically, and transform lets you resize, stretch, or reposition the clip inside the frame. They sound similar, but they do completely different jobs, and mixing them up is how people end up with a video that looks more broken than before.
The reason creators lean on CapCut for this is speed. You don’t need a desktop suite or technical know-how. Whether you’re editing on mobile video editing apps between classes or fixing a clip before an upload deadline, the rotate tool gets the job done in seconds.
How to Rotate Video in CapCut? (Step-by-Step Guide)
There’s more than one way to rotate a video in CapCut, depending on the device you’re using. I’ve personally tested all three methods below, so here’s exactly what to expect from each one.
Rotate Video in CapCut on Mobile (Android & iOS)
This is the version I use the most, mainly because most of my raw footage comes straight from my phone.
- Open CapCut and import your video by tapping the plus icon and selecting the clip from your gallery.
- Once it lands on the timeline, tap directly on the clip to select it. You’ll know it’s selected when a white border appears around it.
- Look for the rotate icon in the bottom toolbar (it looks like a small curved arrow) and tap it.
- Each tap rotates the clip 90 degrees clockwise. Keep tapping until the orientation looks right, or drag the corner handles if you need a finer angle.
- Preview the clip before exporting. I always do this twice because a rotation that looks fine on a small editing thumbnail can look off once it’s full screen.
- Tap export, choose your resolution and frame rate, and save the corrected video to your gallery.
This entire process takes me under two minutes on a normal day, even with a slower phone.
Rotate Video in CapCut on Desktop (PC Version)
When I’m editing longer-form content, I switch to the desktop version because the bigger screen makes it easier to judge the angle correctly.
- Open CapCut on your PC and import your footage into a new or existing project.
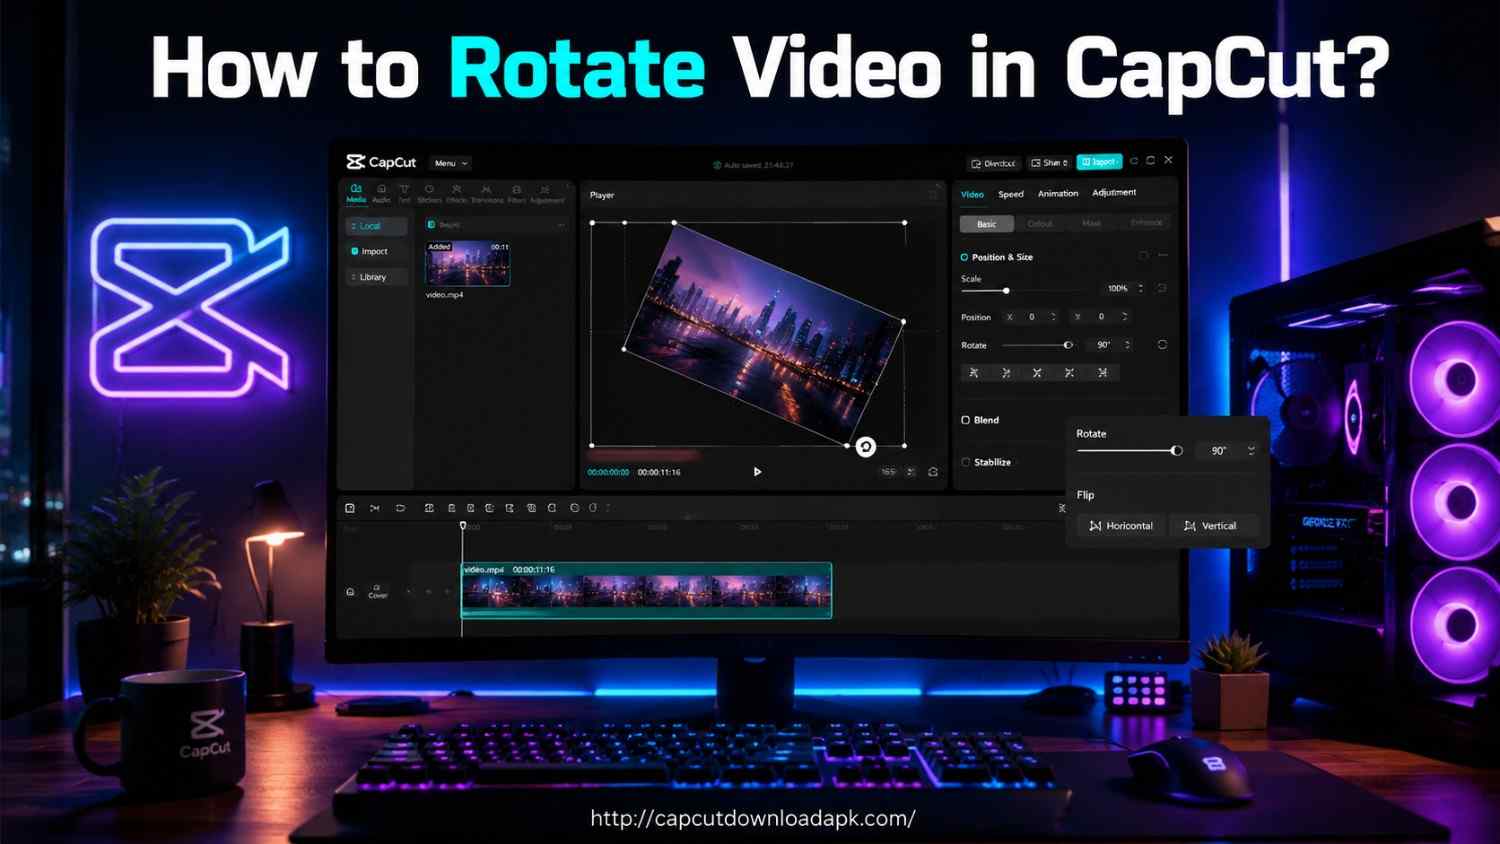
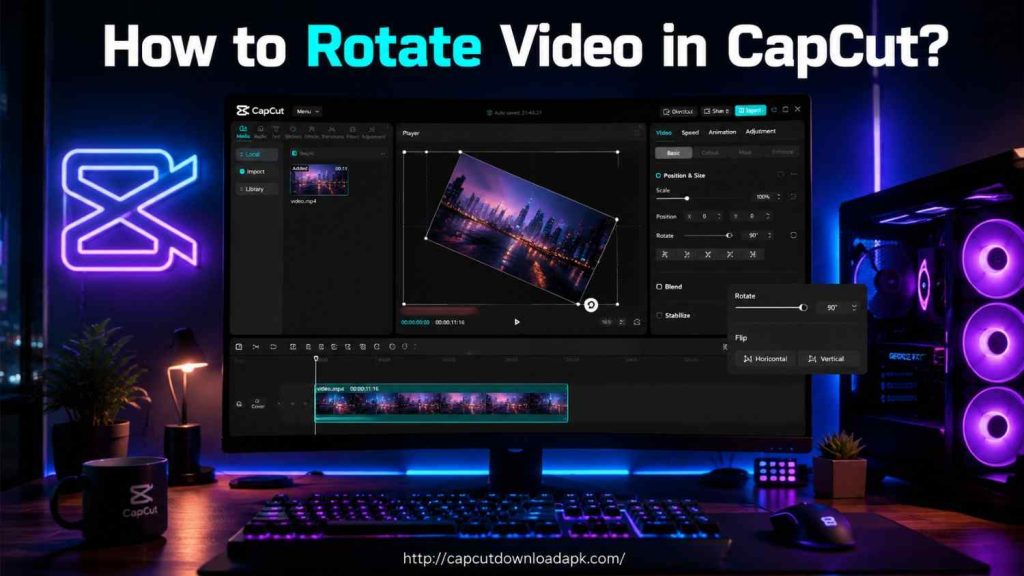
- Click the clip on the timeline, then head over to the inspector panel on the right-hand side.
- You’ll find a rotation field where you can either drag to rotate or type an exact degree value, which I prefer because it’s more precise than dragging on mobile.
- Adjust the angle until the video lines up properly, paying attention to the edges so nothing important gets cropped out.
- Export in your preferred quality setting. I usually go with the highest available resolution since desktop exports rarely lag.
The desktop version gives you noticeably more control, which matters if you’re correcting a slightly tilted shot rather than a fully sideways one.
Rotate Video Using CapCut Online Editor
I started using the online editor when I was working from a borrowed laptop that didn’t have anything installed, and it surprised me how close it felt to the full desktop app.
- Go to the CapCut web version in your browser and sign in.
- Drag and drop your video file directly onto the timeline.
- Apply the rotation controls from the toolbar, the same way you would on desktop.
- Once it looks right, download the final video directly to your device.
No installation, no storage taken up, and it works fine even on an average internet connection, which is genuinely useful if you’re editing on the go.
Why Rotate Video in CapCut? (Real Use Cases)
I didn’t fully appreciate how often I’d need this feature until I started posting regularly across different platforms. Here are the situations where rotating footage in CapCut actually saved my content.
Fix Wrong Video Orientation (Portrait to Landscape / Landscape to Portrait)
This is the classic upside-down or sideways clip problem. It happens more than you’d think, especially when filming handheld or switching the phone mid-shoot. Rotating it back to the correct portrait or landscape orientation in CapCut takes seconds and saves the footage entirely.
Fix Dutch Angle or Tilted Footage
Sometimes the issue isn’t a full 90-degree flip, it’s a slight tilt from an unsteady hand or an awkward camera angle, also known as a Dutch angle. CapCut’s rotation tool lets you nudge the footage back to level without reshooting anything.
Fit Video for Social Media Platforms
Every platform has its own preferred format. TikTok and Instagram Reels want vertical 9:16 video, YouTube Shorts follows the same rule, while standard YouTube prefers 16:9. I rotate and reframe the same source clip differently depending on where it’s going, and it’s made repurposing content far less stressful. This matters a lot if you’re posting the same shoot across three or four platforms in one day, since manually re-filming for each aspect ratio simply isn’t realistic for most creators working on a regular upload schedule.
Reuse Old Videos in New Formats
I have old landscape footage sitting in my camera roll from years ago that I never thought I’d use again. Rotating and reformatting it for today’s vertical-first platforms gave that old content a second life instead of letting it sit unused.
Enhance Overall Video Presentation
Beyond fixing mistakes, rotation can genuinely improve how a video looks. Correcting the angle removes awkward black bars, tightens the framing, and gives the final clip a more professional, intentional feel rather than something thrown together.
Pro Tips to Rotate Videos in CapCut Like a Pro
After doing this dozens of times across different projects, here’s what I’ve learned actually makes a difference:
- Maintain quality after rotation. Always export at the highest resolution your source footage supports. Rotating a low-res clip and then exporting it small will only make it look worse.
- Watch for pixel distortion. If your video looks slightly blurry after rotating, it’s usually because CapCut is filling in the gaps created by the new angle. Avoid rotating the same clip multiple times in small increments; do it once and get it right.
- Combine rotation with cropping and scaling. A rotated clip often leaves uneven edges. Pairing rotation with a slight crop or scale adjustment cleans up the final frame nicely.
- Use keyframes for dynamic rotation effects. If you want the video to rotate gradually during playback rather than as a fixed correction, set keyframes at the start and end points to control the motion smoothly.
Common Problems While Rotating Videos in CapCut (And Fixes)
Even with a tool this simple, I’ve run into a few snags worth mentioning so you don’t waste time troubleshooting them yourself.
Video quality loss: This usually happens when you export at a lower resolution than your original file. Fix it by checking your export settings before hitting save, not after.
Black bars after rotation: When a video is rotated, CapCut sometimes adds black space to fill the new frame dimensions. A quick crop or scale adjustment on the clip usually clears this up.
Export issues: If your export gets stuck or fails, it’s often a storage or app-cache problem rather than the rotation itself. Clearing CapCut’s cache or freeing up device storage tends to solve it.
Rotation not saving properly: This one caught me off guard the first time. Make sure you tap away from the clip after rotating so the change registers on the timeline before you move to export.
CapCut Alternatives for Video Rotation (Optional Insight)
Other editors like InShot, VN, and KineMaster also offer basic rotation tools, and they’re not bad options if you’re already using one of them for other reasons. I’ve tested all three on different projects over the years, mostly out of curiosity more than necessity.
InShot handles rotation fine, but I found its export settings more restrictive on the free tier, with a visible watermark unless you pay. VN gives you a cleaner timeline for rotation and cropping together, which some editors prefer, but its mobile interface takes longer to get used to if you’re coming from CapCut. KineMaster is closer to a full desktop-grade editor, which is great if you need layered rotation effects, but it’s overkill for a simple orientation fix.
That said, I keep coming back to CapCut because beginners can pick it up almost instantly, the interface stays consistent across mobile, desktop, and the online editor, and it doesn’t bury the rotate function under extra menus the way some other apps do. For creators across India, Pakistan, and Bangladesh especially, CapCut also tends to run smoother on lower-end and mid-range phones, which matters when you’re editing on data packs or older devices rather than flagship hardware.
Frequently Asked Questions
Can I rotate a clip in CapCut without losing quality?
Yes, as long as you export at the same resolution as your original footage. Quality loss usually comes from exporting at a lower setting, not from the rotation itself.
Is CapCut free for video rotation?
Yes, the rotate tool is completely free across the mobile, desktop, and online versions of CapCut, with no premium subscription required.
How to rotate video 90 degrees in CapCut?
Select your clip on the timeline and tap the rotate icon once. Each tap turns the video exactly 90 degrees clockwise.
Can I rotate video online using CapCut?
Yes, the CapCut web editor supports the same rotation controls as the mobile and desktop apps, so you can fix orientation directly in your browser.
Why is my rotated video not saving correctly?
This usually happens if you export before the app registers the rotation. Tap away from the clip once you’re done adjusting it, then double-check the preview before exporting.
Conclusion
Rotating a video in CapCut APK is one of those small skills that ends up saving a piece of footage you might otherwise scrap. Whether you’re fixing a sideways clip, correcting a tilted shot, or reformatting old content for a new platform, the process takes minutes once you know where to look. I’ve used every method in this guide myself, on mobile when I’m out filming and on desktop when I want more precision, and both get the job done reliably.
If you’re just starting out, don’t overthink it. Open CapCut, find the rotate tool, and try it on a test clip first. Once you see how quickly it fixes an orientation problem, it becomes second nature, and your social media output will look noticeably more polished for it.
This matters even more if you’re creating for platforms popular across India, Pakistan, and Bangladesh, where most viewers are scrolling on mobile data rather than Wi-Fi, and a sideways or oddly framed clip gets scrolled past in seconds. A quick orientation fix before you post can be the difference between someone watching to the end and someone swiping away. Keep this tool in your regular editing routine, not just as an emergency fix, and your content will consistently feel more intentional across every platform you upload to.