How to Add LUTs in CapCut? Step-by-Step Guide for Mobile & PC (2026)
The first time I tried to add LUTs in CapCut, I genuinely thought I was doing something wrong. I had downloaded a “cinematic teal and orange” LUT pack from a random Telegram channel, dragged it into my project, and… nothing happened. My footage still looked flat. It took me a good evening of trial, error, and a few frustrating exports to actually understand how LUTs in CapCut work and once it clicked, my videos genuinely started looking like something out of a Netflix show instead of a phone recording.
If you’re here because you typed “how to add LUTs in CapCut” into Google at 1 AM the way I did, I promise this guide will save you that entire evening. I’m going to walk you through everything I learned about adding LUTs in CapCut on mobile, on PC, the mistakes I made, and the small tweaks that actually make a LUT look natural instead of fake.
What Are LUTs in CapCut?
What does LUT stand for?
LUT stands for Look-Up Table. In simple words, it’s a small file that tells your editing app exactly how to map one set of colors to another. So if your video has a certain shade of blue in the sky, the LUT “looks up” that color and replaces it with whatever the preset is designed to produce a warmer tone, a cooler tone, or a moodier, desaturated look.
When I first heard the term, it sounded way more technical than it actually is. Think of a LUT as a color recipe. You feed your raw footage into it, and it spits out footage with a consistent, pre-defined color style.
How LUTs work in video editing?
A LUT doesn’t “create” color out of nothing it transforms the existing pixel values in your footage based on a mathematical formula baked into the file. That’s why the same LUT can look completely different on two different clips. I learned this the hard way when a LUT that looked stunning on my daylight shots turned my indoor footage a strange shade of green.
Difference between LUTs, Filters, and Color Grading
This confused me for weeks, so let me save you the trouble:
- Filters are quick, one-tap presets built directly into the app (CapCut’s built-in filters fall here).
- LUTs are imported .cube files that apply a more precise, professional-grade color transformation.
- Color grading is the broader process using LUTs, manual adjustments, curves, and color wheels together to achieve a final look.
In short, a LUT is a tool you use while color grading, not a replacement for it. This distinction is exactly why so many people search “how to add LUTs in CapCut” expecting a one-tap fix, when really it’s a small skill worth learning properly.
When should you use LUTs in CapCut?
Knowing when to add LUTs in CapCut versus when to skip them saves a lot of editing time. I now reach for a LUT whenever I want a consistent visual identity across a series of videos for example, my travel reels or a brand’s product videos. If you’re just editing one casual clip for a story, a built-in filter is honestly faster. But if you’re building a portfolio, a YouTube channel, or content for a client, LUTs in CapCut are where the real professional touch comes from.
Why Should You Add LUTs in CapCut?
Create a Professional Cinematic Look
The single biggest reason I started using LUTs was to stop my videos from looking like “phone footage.” A good cinematic LUT instantly gives clips that filmic depth richer shadows, smoother skin tones, and that subtle teal-orange contrast you see in movies.
Improve Color Consistency
If you shoot multiple clips at different times of day, the lighting will never match perfectly. Applying the same LUT across all clips pulls them toward a unified color palette, which is something I genuinely couldn’t achieve by manually adjusting brightness and contrast on every single clip.
Save Editing Time
Before I used LUTs, I’d spend 20-30 minutes color correcting a single reel clip by clip. Now I apply one LUT, tweak the intensity, and I’m done in under five minutes. For anyone editing on a deadline, this alone is worth learning the process.
Enhance Mood and Visual Style
A moody, desaturated LUT can turn an ordinary walking shot into something that feels cinematic and intentional. I’ve used warm LUTs for festive content and cooler ones for tech reviews the mood shift is instant.
Keep Your Brand Colors Consistent for Social Media
If you run a page or work with brands, viewers start recognizing your content by its color tone before they even read the caption. I built a custom LUT for my own channel, and people now comment that they can tell it’s “my” video just from the colors.
Things You Need Before Adding LUTs in CapCut
Compatible CapCut Version
LUT import works reliably on the CapCut PC/desktop version. On mobile, official .cube LUT import has historically been limited or unavailable depending on your region and app version, so always check the latest update before assuming it’ll work.
Downloading LUT Files (.cube)
You can find free and paid LUT packs from sites like RocketStock, FilterGrade, or even CapCut’s own LUT/effects library inside the app. I’d recommend starting with a free pack before paying for anything it’s the best way to learn what style actually suits your content.
Supported File Format
CapCut primarily supports the .cube format, and on PC it also reads .3dl files in some versions. Always confirm the format before downloading a pack, because a mismatched file simply won’t import.
Device Requirements
For mobile, make sure your CapCut app is fully updated and your device has enough storage, since LUT files (and the higher-resolution exports they encourage) can add up quickly. For PC, a reasonably modern processor makes previewing LUTs in real time much smoother laggy previews were one of my biggest early frustrations.
How to Add LUTs in CapCut on Mobile? (Android & iPhone)
If you’ve been searching specifically for how to add LUTs in CapCut on mobile, here’s exactly what I do on my phone, step by step:
Import Your Video
Open CapCut, tap “New Project,” and import the clip or clips you want to edit.
Open the Adjustment Panel
Tap on your clip, then look for the “Adjust” or “Filter” option in the bottom toolbar.
Import the LUT File
If your CapCut version supports custom LUT import, you’ll see an option to import a .cube file directly from your device storage. If it isn’t available in your region’s app version, use the built-in filter or effects library, which often includes CapCut’s own LUT-style presets this is the workaround I personally rely on when the direct import option isn’t showing.
Adjust LUT Intensity
After applying, drag the intensity slider until the effect looks natural rather than overpowering. I almost always bring mine down to 60-80%.
Preview the Final Result
Scrub through your full timeline before finalizing a LUT that looks great on one frame can look completely off on another, especially with changing lighting.
Export the Video
Once you’re happy with the look, tap export and choose your preferred resolution. I always export in at least 1080p to keep the color grading crisp.
How to Add LUTs in CapCut on PC/Desktop?
This is where I do most of my serious editing, because the LUT workflow is far more reliable here.
Create a New Project
Open CapCut on your laptop and start a new project from the home screen.
Import Video Clips
Drag and drop your footage into the media panel, then place your clips on the timeline in order.
Apply a LUT
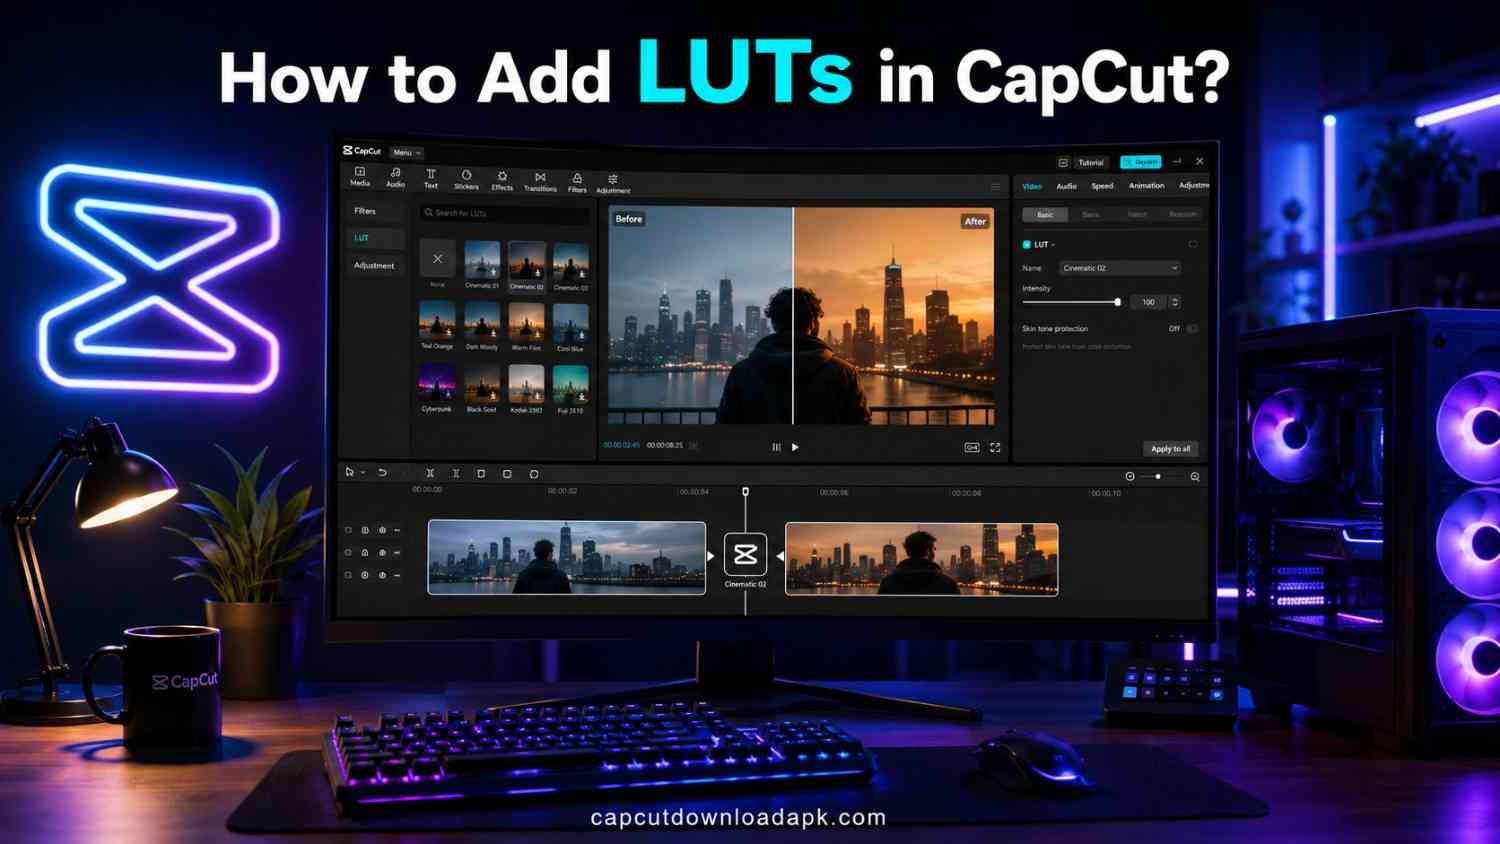
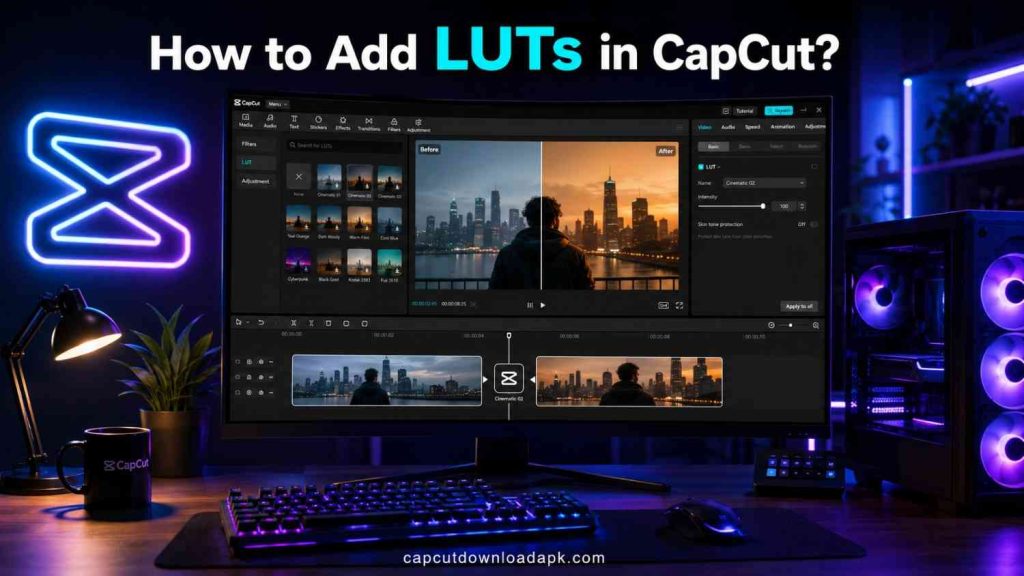
Click on your clip, go to Adjustment → Basic, and you’ll find the LUT option. Click “Import,” select your .cube file from your computer, and apply it to the clip.
Fine-Tune the Color Settings
Once the LUT is applied, open the adjustment layer and tweak contrast, saturation, and highlights until the footage matches the mood you’re going for. This is the step most people skip, and it’s exactly why their LUTs end up looking unnatural.
Export in High Quality
Go to export settings, choose a high bitrate and at least 1080p (4K if your source footage supports it), and render your final video.
Best LUTs to Use in CapCut
Based on what’s worked across different types of content I’ve edited:
| LUT Type | Best For |
| Cinematic LUTs | Storytelling reels, short films |
| Travel LUTs | Vlogs, scenic and outdoor footage |
| Portrait LUTs | Skin-tone-focused content, interviews |
| Vlog LUTs | Daily life, casual creator content |
| Moody LUTs | Emotional or dramatic sequences |
| Vintage LUTs | Retro, nostalgic-themed videos |
I’d suggest keeping two or three go-to LUTs rather than constantly switching it’s what actually builds a recognizable style for your channel.
How to Adjust LUT Strength for Natural Results?
Reduce Intensity / Opacity
Almost no LUT looks right at 100%. I rarely go above 80%, and for portrait shots I often stay around 50-60% so skin tones don’t shift unnaturally.
Balance Highlights and Shadows
After applying a LUT, check if your highlights are blown out or your shadows have lost detail. A quick manual adjustment here fixes most “fake-looking” results.
Adjust Contrast and Saturation
Some LUTs are designed for log/flat footage and will look oversaturated on regular phone footage. Pulling saturation down slightly usually solves this instantly.
Avoid Overediting
This was my biggest early mistake stacking a strong LUT, then adding extra filters and saturation boosts on top. The result looked artificial. Less is almost always more.
Common Problems When Adding LUTs in CapCut (And Fixes)
LUT File Not Showing
Make sure the file is saved in an accessible folder and that your CapCut version actually supports custom LUT import. Restarting the app after adding the file often fixes this.
Unsupported File Format
Double-check the file extension only .cube (and .3dl on some PC versions) will work. Files like .lut or .icc from other software won’t import directly.
Colors Look Too Strong
This usually means the LUT was designed for flat/log footage, not standard phone video. Lower the intensity or pair it with a manual saturation reduction.
LUT Doesn’t Match Footage
Different lighting conditions need different LUTs. A LUT built for golden-hour outdoor shots will rarely suit dim indoor footage keep a small library for different scenarios.
CapCut Crashing or Lagging
Clear cache, update the app, and close other background applications. On PC, also check that your graphics drivers are up to date, since LUT previews are GPU-intensive.
Tips for Using LUTs Like a Professional Editor
Match LUTs with Lighting Conditions
I keep separate LUTs for daylight, golden hour, and indoor footage instead of using one for everything.
Use High-Quality Footage
LUTs amplify whatever is already in your footage including noise and poor exposure. Starting with well-lit, well-exposed shots makes any LUT look dramatically better.
Combine LUTs with Manual Adjustments
Treat a LUT as your starting point, not the finish line. A little manual contrast or white balance correction afterward makes a huge difference.
Always Preview Before Export
I make it a habit to scrub through the entire timeline at full resolution before exporting catching a mismatched frame before export saves a re-edit later.
Frequently Asked Questions
Can I add custom LUTs in CapCut?
Yes, on the CapCut PC version you can import custom .cube LUT files through the Adjustment panel. Mobile support varies by app version and region.
Which file format does CapCut support for LUTs?
CapCut primarily supports .cube files, with .3dl also working in certain PC versions.
Are LUTs free in CapCut?
CapCut’s built-in effects and some LUT-style presets are free, but many high-quality third-party LUT packs are paid. Free options are widely available online if you’re just starting out.
Can I reuse the same LUT on multiple videos?
Yes, and I’d actually recommend it reusing the same one or two LUTs builds a consistent visual identity across your content.
What is the difference between LUTs and filters?
Filters are quick built-in presets, while LUTs are imported files offering more precise, professional-grade color transformations that you can fine-tune further.
Why is my LUT not working in CapCut?
The most common reasons are an unsupported file format, an outdated app version, or your specific CapCut version not supporting custom LUT import on mobile. Updating the app or switching to PC usually resolves it.
Conclusion
Learning how to add LUTs in CapCut completely changed the way my videos looked not because LUTs are magic, but because they gave me a consistent, professional starting point instead of guessing with color sliders every single time. Start with one good LUT, keep the intensity natural, and build from there. Once you get the hang of it, you’ll wonder how you ever edited without it.