How to Add Text in CapCut?
I still remember the first reel I ever edited in CapCut. The footage was decent, the cuts were clean, but something felt flat it needed a caption, a hook, something that told the viewer what they were watching before they scrolled past. That’s when I discovered CapCut’s text tool, and honestly, it changed how I approached every video after that. If you’re wondering how to add text in CapCut, whether it’s a simple caption, a bold title, or an animated overlay, this guide walks you through everything I’ve learned from actually using the app, not just reading about it.
CapCut has become one of the most popular video editors for creators because it makes text editing genuinely easy, even if you’ve never touched a video app before. Below, I’ll show you exactly how to add text in CapCut, customize it so it matches your video’s vibe, and fix a few common mistakes I made when I was starting out.
How to Add Text in CapCut? Step-by-Step Guide
There are two main ways to add text in CapCut typing text directly onto your clip, or using one of the built-in text overlays. I use both depending on the project, so let’s go through each one.
Add Text Directly to Your CapCut Video
- Open CapCut and import your clip. Tap the “+” icon on the home screen to start a new project, then select the video or photo you want to work with.
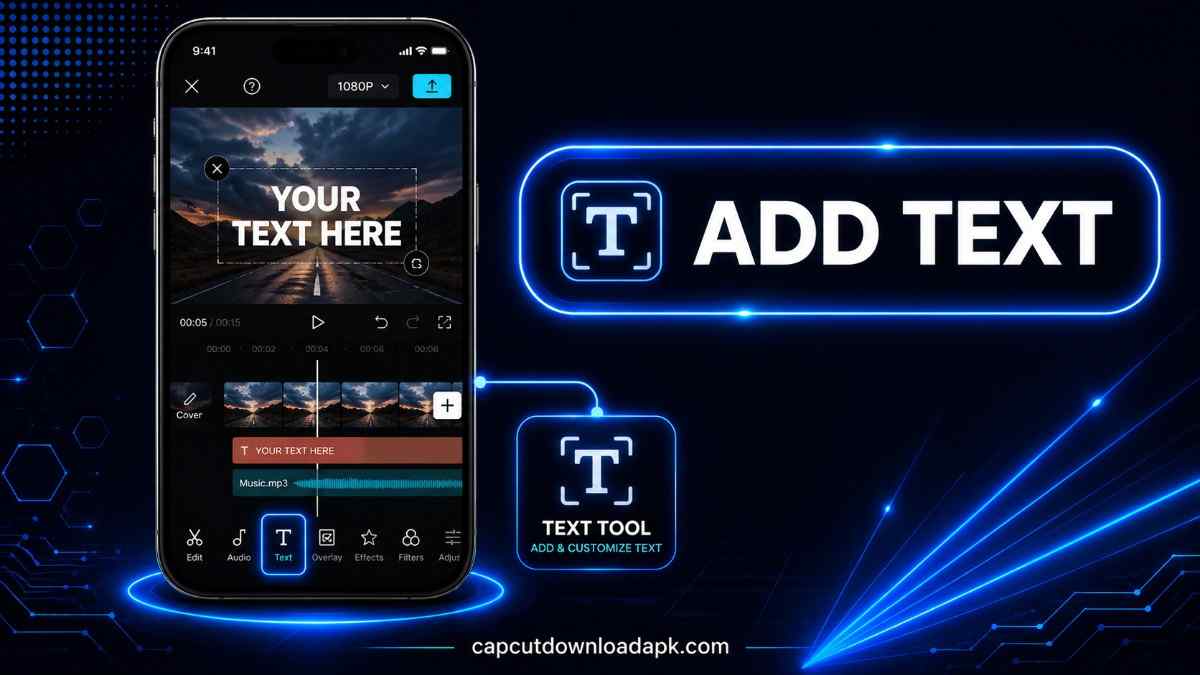
- Tap “Text” in the bottom toolbar. You’ll see a few options pop up choose “Add Text.”
- Type your message. A text box and keyboard will appear. Write your caption, title, or whatever text you need.
- Drag the text box to wherever you want it on the screen. I usually keep captions near the bottom third so they don’t cover the main subject.
- Set the duration. On the timeline below, drag the edges of the text clip to control exactly when it appears and disappears.
- Preview, then export. Play the clip back once to make sure the timing looks right before saving.
This method works well when you want text to feel like part of the scene think subtitles, quick captions, or on-screen instructions.
Add Text Overlays in CapCut
Text overlays are a bit different. Instead of typing from scratch, you’re picking from pre-styled templates that already have motion and design baked in.
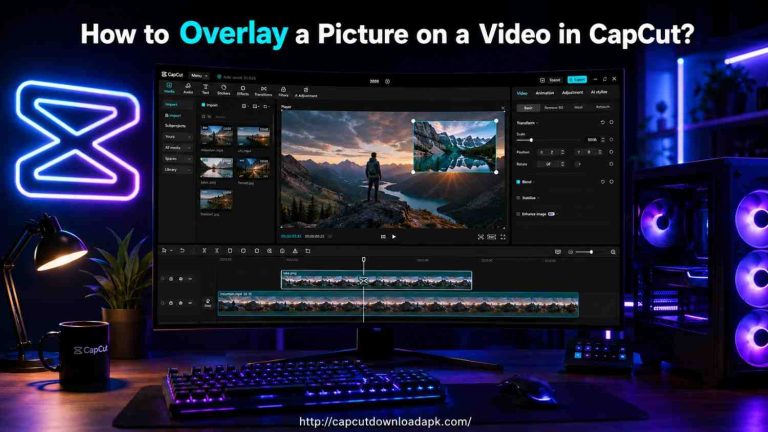
- Open your project and tap “Overlay” in the toolbar.
- Tap “Add Overlay,” then browse the text overlay options CapCut offers.
- Select a style that fits your video CapCut has everything from clean minimal titles to bold, animated ones.
- Customize the wording, then adjust the size and position by pinching and dragging on the preview screen.
- Trim the overlay’s length on the timeline the same way you would a text clip.
- Preview and export once you’re happy with how it looks.
I lean on overlays when I want something that looks polished without spending ten minutes tweaking fonts manually.
How to Customize Text in CapCut?
Adding the text is the easy part. What actually makes a video look professional is how you style it afterward, and CapCut gives you a surprising amount of control here.
Change Font, Size, Color, and Text Style
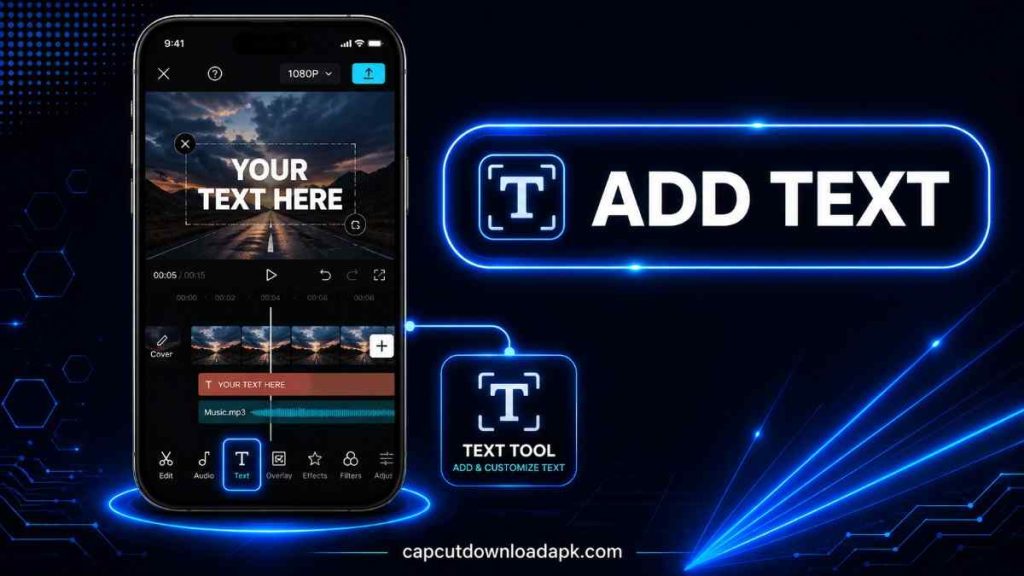
Tap on your text box, then look for the style panel at the bottom. From there you can:
- Scroll through CapCut’s font library there are dozens of free options, from clean sans-serifs to handwritten styles.
- Adjust the size using the slider or by pinching directly on the text box.
- Change the text color, along with outline and background color if you want the words to stand out more against busy footage.
- Apply bold, italic, or letter-spacing tweaks under the “Style” tab.
A small tip from experience: stick to one or two fonts per video. Mixing too many styles makes even good footage look cluttered.
Adjust Text Position and Duration
Once your text is styled, drag it anywhere on the screen with your finger CapCut shows alignment guides so it snaps to the center or edges cleanly. For duration, go back to the timeline and pull the text clip’s edges left or right. This is useful if you’re syncing text to a voiceover or a beat drop in your audio.
Add Text Animations and Effects
This is where CapCut really stands out compared to most free editors. Tap your text box, then select the “Animation” tab. You’ll find three categories:
- In animations – how the text enters (fade, pop, typewriter, etc.)
- Out animations – how it exits
- Loop animations – continuous movement while the text is on screen
You can also set the animation speed using the slider next to each option. I usually keep entrance animations quick half a second or less so they don’t slow the pacing of the video down.
How to Edit or Remove Text in CapCut?
If you need to make changes after adding your text, it’s simple:
- To edit: Tap the text clip on the timeline, then tap the text box on the preview screen. This reopens the keyboard so you can retype or adjust wording.
- To restyle: With the clip selected, use the same font, color, and animation panels from before to make changes.
- To remove: Select the text clip on the timeline, then tap the trash/delete icon, or swipe up on the clip depending on your app version.
One thing worth knowing deleting a text clip only removes that specific text layer, so it won’t affect your video or audio underneath.
Why Add Text to Videos in CapCut?
Text isn’t just decoration. In my experience, it’s one of the biggest factors in whether a video keeps someone watching past the first three seconds. A few reasons it’s worth the extra few minutes:
- It grabs attention fast. Most people watch social videos with the sound off at first a bold caption tells them what’s happening before audio even matters.
- It improves accessibility. Captions help viewers who are hard of hearing, or watching in a quiet space like an office or a bus.
- It reinforces your message. Repeating your key point in text form makes it stick, especially for tutorials or product videos.
- It builds your brand. Consistent fonts and colors across your videos make your content instantly recognizable.
Tips for Making CapCut Text Look Professional
A few things I picked up after editing dozens of videos:
- Keep it short. If a caption takes more than two seconds to read, viewers will scroll away before finishing it.
- Use contrast. Light text on dark backgrounds (or vice versa) is far easier to read than text that blends into busy footage.
- Don’t overuse animations. One or two well-timed effects look intentional; five different ones look chaotic.
- Match your font to your tone. A playful bounce font suits a comedy skit, but it’ll feel out of place on a serious tutorial.
- Preview on a small screen. What looks fine on your editing screen can be hard to read on a phone always check before exporting.
FAQ’s
Can I Add Text to a Video in CapCut for Free?
Yes. Adding text in CapCut, including most fonts, colors, and basic animations, is completely free. Some premium fonts and advanced effects are locked behind CapCut Pro, but you don’t need them for the vast majority of edits.
How Do I Add Text to a Specific Part of a Video in CapCut?
Add your text as usual, then use the timeline to drag the text clip to the exact point in the video where you want it to appear. You can trim the start and end points so it only shows during that specific section.
Can I Animate Text in CapCut?
Yes, and it’s one of the easiest parts of the app to use. Select your text box, tap “Animation,” then choose from in, out, and loop effects. You can also control how fast each animation plays.
How Do I Change the Font or Color of Text in CapCut?
Tap your text clip, then open the style panel at the bottom of the screen. Font options are usually the first tab, with color and outline settings right next to them.
Conclusion
Learning how to add text in CapCut takes a few minutes, but mastering it knowing when to use a simple caption versus an animated overlay, picking the right font, timing everything to your audio is what actually separates an average video from one people stop scrolling for. Start simple, experiment with the animation options, and don’t be afraid to redo a caption a few times until it feels right. That’s really how I got better at it, one video at a time.