CapCut vs KineMaster: Which Video Editing App Is Better?
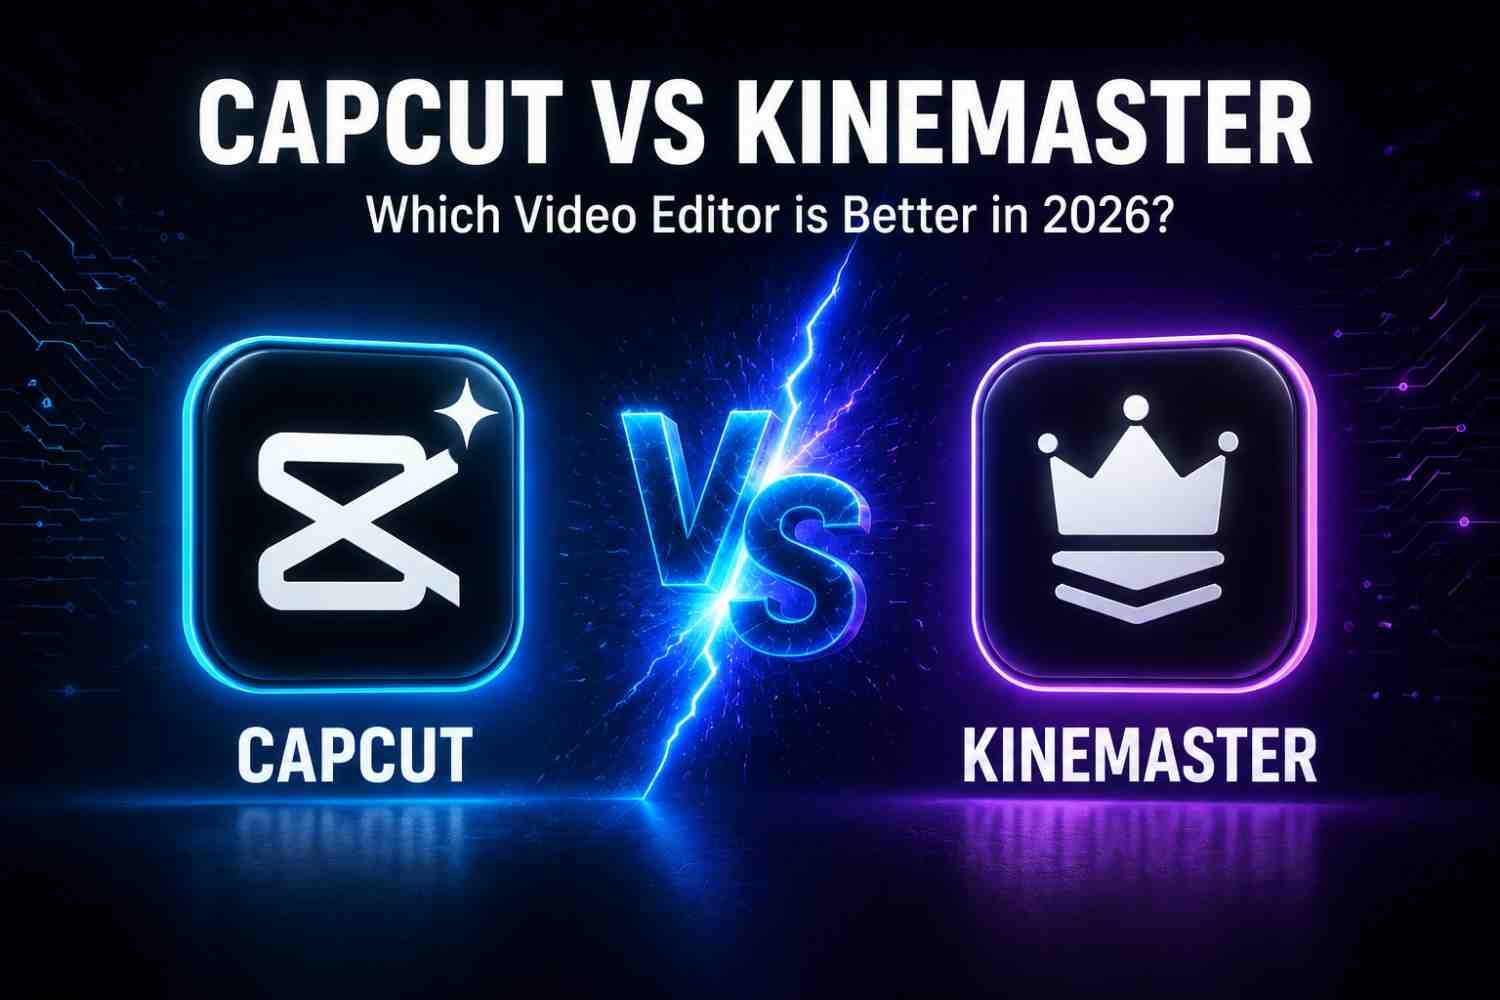
I’ve spent the last couple of years editing everything from quick TikTok clips to longer YouTube videos, and CapCut and KineMaster are the two apps I keep coming back to when people ask me which editor they should download. I’ve used both on my phone and on my laptop, pushed both through real projects not just a five-minute test run and I want to walk you through exactly what I found, so you can pick the one that actually fits how you edit.
If you’re stuck choosing between these two apps, this comparison covers everything: interface, tools, AI features, pricing, and which one wins depending on what you’re making.
CapCut vs KineMaster at a Glance
Before we get into the details, here’s a quick side-by-side so you can scan the differences in seconds.
| Category | CapCut | KineMaster |
| Best For | Beginners, short-form content (TikTok/Reels) | Intermediate to advanced editors |
| Interface | Simple, minimal learning curve | Slightly more layered, timeline-heavy |
| AI Features | Auto-captions, AI background removal, AI scripts | Very limited, mostly manual tools |
| Free Version Watermark | Removed with Pro | Yes, on free plan |
| Export Quality | Up to 4K | Up to 4K |
| Platform Support | Android, iOS, Windows, Mac, Web | Android, iOS |
| Price (Monthly) | Around $7.99 | Around $4.99 |
| Ideal Use Case | Social media creators | Detailed multi-layer editing |
Now let’s break down why these differences actually matter in day-to-day editing.
What Is CapCut?
CapCut is the free video editor from Bytedance (the same company behind TikTok), and that connection shows in how the app is built. Everything about it feels tuned for short-form content vertical video, trending templates, auto-captions that actually catch what you’re saying, and a library of effects that update almost weekly to match whatever’s trending on TikTok and Instagram.
I started using CapCut when I needed to turn long-form footage into quick clips for Instagram Reels, and the thing that stood out immediately was how little time it took to go from raw footage to a finished, captioned video. You don’t need to know editing terminology to get around tools are laid out in a way that just makes sense the first time you open it.
What Is KineMaster?
KineMaster has been around longer than CapCut and built its name as a more “complete” mobile editor closer to what you’d expect from desktop software, just squeezed onto a phone screen. It supports multi-layer editing, detailed audio mixing, chroma key, and precise keyframe control, which makes it a favorite among people editing YouTube videos, vlogs, and anything that needs more than a quick trim-and-post workflow.
When I first switched to KineMaster for a longer project a 10-minute YouTube video with multiple audio layers and voiceover I noticed the extra control almost immediately. It gives you more knobs to turn, but that also means a slightly steeper learning curve if you’ve never touched a layered timeline before.
CapCut vs KineMaster: Feature Comparison
This is where the real difference between the two apps comes out. Let’s go tool by tool.
User Interface and Ease of Use
CapCut’s interface is built around simplicity. Tools sit at the bottom of the screen in a single row, and most actions trimming, adding text, applying a filter take two or three taps. I handed CapCut to a friend who had never edited a video before, and she was cutting clips within ten minutes without any tutorial.
KineMaster’s interface, on the other hand, is closer to a proper NLE (non-linear editor). You get a real multi-layer timeline where you can stack video, audio, images, and effects independently. It’s more powerful once you understand it, but it does take longer to feel comfortable I’d say give yourself a couple of editing sessions before it clicks.
Video Editing Tools
Both apps cover the basics well trimming, splitting, merging, speed control, and keyframe animation are present in both. Where they split apart is precision. KineMaster lets you fine-tune layers independently with more granular control over blending and audio ducking, which matters if you’re editing something with multiple voice tracks or background music that needs to duck under dialogue.
CapCut keeps things faster rather than deeper you can still layer clips and adjust speed curves, but the tools are designed to get you to a finished video quickly rather than give you frame-by-frame control over every layer.
Effects, Filters, and Transitions
CapCut wins here mostly because of volume and relevance. Its effects library is huge, constantly refreshed, and directly tied to what’s trending on social platforms so if you’re chasing a specific look you saw on someone else’s TikTok, chances are it’s already sitting in CapCut’s effects tab.
KineMaster’s effects are solid and professional-looking, but the library is smaller and updates less frequently. If your priority is trend-matching content for short-form platforms, CapCut has the edge. If you want consistent, cinematic-style transitions for longer-form content, KineMaster still holds its own.
Templates and Built-in Assets
CapCut’s template library is genuinely one of its strongest features. You can drop your own clips into a pre-built template and have a polished video ready in minutes great for creators who post daily and don’t have time to build every edit from scratch.
KineMaster does offer templates too, but the selection is noticeably smaller, and it leans more toward general-purpose templates rather than the platform-specific ones CapCut tends to push out.
AI Editing Features
This is where the gap is biggest. CapCut has invested heavily in AI tools auto-captions with accurate speech recognition, AI background removal without a green screen, AI-generated voiceovers, and even script-to-video features that can rough-cut an edit for you.
KineMaster, as of now, doesn’t offer much in the way of AI-assisted editing. It’s still a manual, hands-on editor at its core. If AI-powered speed is a priority for you, this alone might decide things.
Export Quality and Performance
Both apps export up to 4K resolution, so final video quality isn’t really a differentiator. Performance-wise, I noticed CapCut handles rendering a little faster on mid-range phones, while KineMaster can get resource-heavy on longer, multi-layer projects expect it to lean on your phone’s processor more if you’re stacking several layers.
CapCut vs KineMaster Pricing Plans
CapCut Free vs Pro
CapCut’s free version is genuinely usable most core tools, templates, and effects are unlocked without paying anything. The Pro plan (around $7.99/month or roughly $74.99/year) unlocks premium AI features, more cloud storage, and additional premium effects and fonts.
KineMaster Free vs Premium
KineMaster’s free plan comes with a visible watermark on exported videos, which is the main reason most people upgrade. The Premium plan (around $4.99/month or roughly $39.99/year) removes the watermark, unlocks the full asset store, and adds premium effects. It’s generally cheaper than CapCut Pro, which matters if budget is the deciding factor.
CapCut Pros and Cons
Pros
- Extremely beginner-friendly interface
- Strong, fast-updating AI tools (auto-captions, background removal)
- Huge, trend-relevant template and effects library
- Available across mobile, desktop, and web
- No watermark even on the free version
Cons
- Less granular control for complex, multi-layer projects
- Basic audio mixing compared to KineMaster
- Some premium effects and fonts are locked behind Pro
KineMaster Pros and Cons
Pros
- Detailed multi-layer timeline for precise editing
- Strong audio tools, including ducking and fine volume control
- Professional-style effects and chroma key support
- Good for longer, structured video projects
Cons
- Watermark on free exports
- No meaningful AI-assisted editing tools
- Steeper learning curve for first-time users
- Smaller template library than CapCut
CapCut vs KineMaster: Which One Should You Choose?
Best for Beginners
If you’ve never edited a video before, CapCut is the easier starting point. The interface doesn’t require you to learn editing terminology, and the templates mean you can post something polished on day one.
Best for Content Creators
For creators posting regularly on TikTok, Instagram Reels, or YouTube Shorts, CapCut’s combination of AI captions, trend-matching effects, and fast templates makes it the more efficient choice you’ll spend less time per video and still get a professional-looking result.
Best for Professional Editing
If you’re producing longer-form content vlogs, tutorials, or YouTube videos that need layered audio and precise control KineMaster’s timeline gives you the flexibility that CapCut’s faster, simpler workflow doesn’t fully replicate.
Frequently Asked Questions
Is CapCut better than KineMaster?
CapCut is better for quick, social-media-style editing thanks to its AI tools and templates, while KineMaster is better suited for longer, layered projects where precise control matters more than speed. The “better” app depends on what you’re editing and how much control you want over the process.
Which app is easier for beginners?
CapCut is easier for beginners. Its interface groups tools simply, and most first-time users can start editing without watching a tutorial, whereas KineMaster’s layered timeline takes a bit more time to get comfortable with.
Does CapCut have more AI features than KineMaster?
Yes. CapCut includes AI auto-captions, background removal, and script-based editing tools, while KineMaster currently offers little to no AI-assisted editing functionality.
Which app exports videos without a watermark?
CapCut exports without a watermark even on its free plan. KineMaster adds a watermark to free exports, which is removed only after upgrading to Premium.
Which video editor is better for YouTube, TikTok, and Instagram?
For TikTok and Instagram, CapCut is generally the better fit because of its templates and AI captioning built specifically for short-form content. For longer YouTube videos with more complex audio and layering needs, KineMaster often holds up better.
Conclusion
After editing with both apps across different types of projects, here’s where I land: CapCut is the stronger all-around pick for most people, especially if you’re creating short-form content, want AI tools that actually save time, and don’t want to deal with a learning curve. KineMaster still earns its place if you’re working on longer, more structured videos where layered audio and precise timeline control matter more than speed.
If you’re just starting out or posting regularly on social media, go with CapCut. If you’re building longer, more detailed video projects and don’t mind the extra learning time, KineMaster is worth sticking with.