How to Use CapCut to Edit TikTok Reels and YouTube Videos? (Step-by-Step 2026 Guide)
If you have ever spent hours trying to edit a video on a complicated desktop software and ended up with something that looked nothing like what you imagined trust me, I have been there. That is exactly why I switched to CapCut. And honestly? It changed everything about how I create content.
Whether you are making TikTok videos, Instagram Reels, or YouTube Shorts, CapCut gives you professional-level editing tools right on your phone completely free. In this guide, I am going to walk you through everything I personally use when editing videos in CapCut, from importing your first clip all the way to exporting a polished, ready-to-upload video.
Introduction to CapCut for TikTok, Reels & YouTube Videos
What is CapCut?
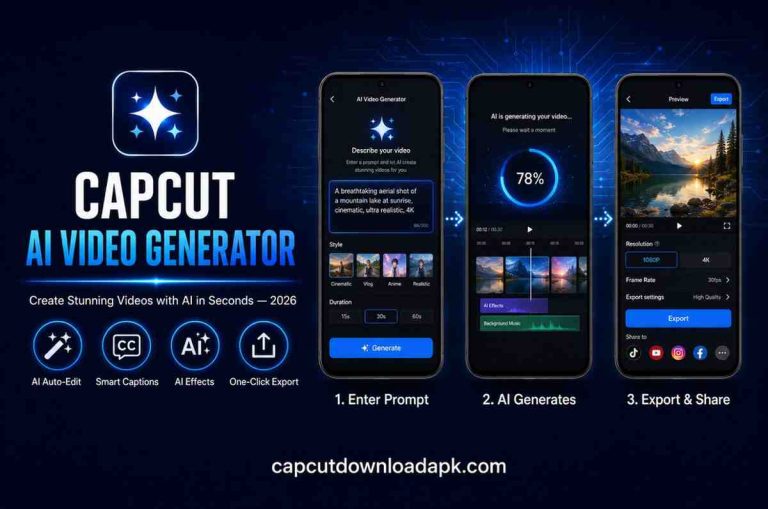
CapCut is a free video editing app developed by ByteDance (the same company behind TikTok). It is available on Android, iOS, and PC. The app is packed with features like auto captions, background removal, speed ramping, keyframe animation, AI tools, and hundreds of trending templates all without paying a single rupee or dollar.
Why Creators Love CapCut for Short-Form and Long-Form Content?
The reason CapCut APK has taken over the creator space in India, Pakistan, and across South Asia is simple it feels like it was built for content creators, not film editors. You do not need a course to figure it out. Most people open the app and are editing within minutes.
- TikTok creators use it for beat-synced edits, trending transitions, and viral hooks.
- Instagram Reels creators love the auto caption feature and vertical format tools.
- YouTube creators use it for YouTube Shorts and even for regular long-form videos when they want a fast workflow.
One app, all platforms that is the COPE method (Create Once, Publish Everywhere), and CapCut makes it genuinely easy.
CapCut Editing Interface Explained (Beginner Friendly)
Before you start cutting clips, spend two minutes understanding the layout. Once this clicks, everything else becomes fast and intuitive.
Preview Window (Real-Time Editing View)
At the top of your editing screen sits the preview window. Every change you make a cut, a color grade, a piece of text shows up here in real time. Hit the play button (▶) to watch your edit as it will look when exported. I always keep checking back here after every major change.
Timeline Editing System (Core Workflow Area)
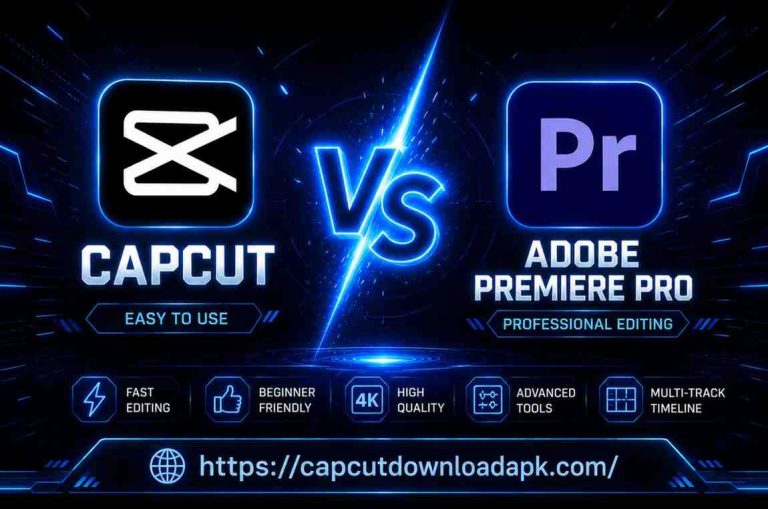
The timeline is in the middle of the screen and is the heart of your project. Your video clips, audio tracks, text layers, stickers, and effects all sit here as separate rows (called tracks). You can pinch to zoom in on the timeline for precise edits, or zoom out to see your full video at once. This multi-track system is what makes CapCut feel close to desktop editors like Premiere Pro.
Toolbar & Editing Tools Overview
The bottom bar is your main toolbox. It changes depending on what you have selected. When nothing is selected, you see main tools like Audio, Text, Effects, Transitions, and Filters. When you tap on a clip, it switches to clip-level tools like Split, Trim, Speed, and Animation. Learning which tools appear where saves a lot of scrolling time.
Media Library, Layers & Asset Management
CapCut organizes everything you import into a media library. You can layer multiple video clips on top of each other using the “Overlay” feature, which is perfect for picture-in-picture effects or adding B-roll on top of your main footage.
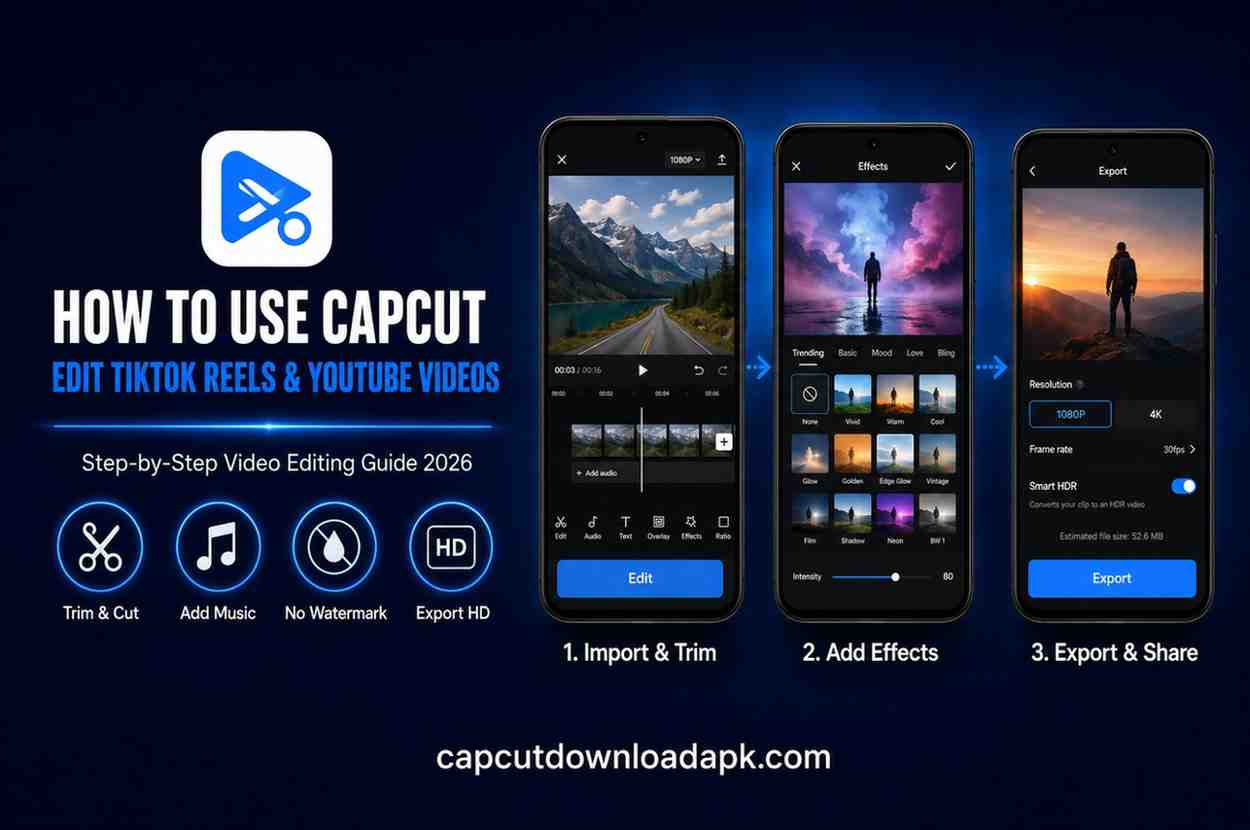
How to Use CapCut to Edit Videos? (Complete Step-by-Step Workflow)
This is the exact workflow I follow every single time I edit a video in CapCut.
Step 1 –> Import Media (Videos, Images, Audio)
Open CapCut and tap “New Project”. Your phone gallery will open. Select the video clips, images, or photos you want to use you can select multiple files at once. Tap “Add” in the bottom right corner to bring them into the timeline.
Pro tip: Shoot your main footage in 9:16 (vertical) for TikTok and Reels, or 16:9 (horizontal) for YouTube. You can change the aspect ratio inside CapCut, but starting with the right format always gives cleaner results.
Step 2 –> Basic Editing (Trim, Cut, Split, Arrange Clips)
This is where you remove the parts you do not want.
- Tap on a clip to select it.
- Drag the left or right edge of the clip to trim it.
- Move the playhead to any point and tap “Split” to cut a clip at that exact moment.
- To delete a section, split it on both sides and tap the unwanted piece, then press Delete.
- Drag clips left or right on the timeline to reorder them.
I use the split tool constantly especially to remove “umm,” awkward pauses, or shaky camera moments.
Step 3 –> Add Transitions & Smooth Scene Flow
Tap the small white box that appears between two clips on the timeline. A transition panel opens with categories like Basic, Trendy, Cinematic, and more. For most content, the “Slide” or “Dissolve” transitions look clean and professional. Keep transitions short 0.3 to 0.5 seconds usually works best.
Step 4 –> Audio Editing (Music, Voiceover, Sound Effects)
Tap “Audio” from the bottom toolbar. You will see four options:
- Sounds – CapCut’s in-app music library with trending and royalty-free tracks.
- Effects – for sound effects like whooshes, taps, and notification sounds.
- Extracted – pulls audio from another video file on your phone.
- Record – record your own voiceover directly inside the app.
Once your audio is on the timeline, you can trim it, adjust the volume, fade it in or out, and use “Beat Sync” to automatically match your cuts to the beat of the music. For TikTok especially, beat-synced edits perform significantly better.
Step 5 –> Text, Captions & Auto Subtitles
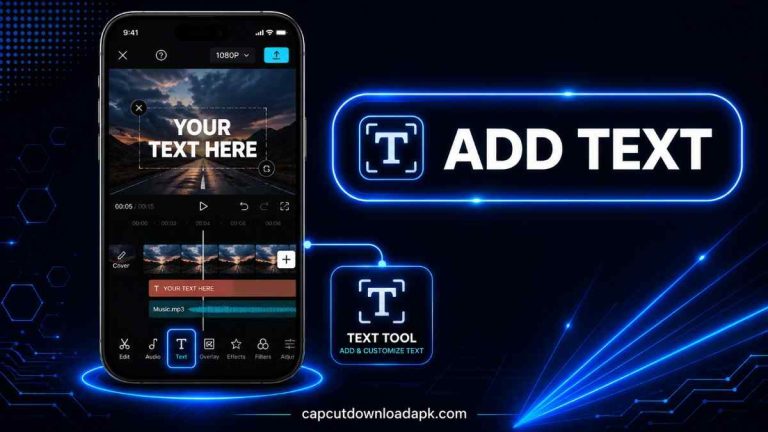
Tap “Text” from the toolbar. You can manually add text boxes, choose from text templates, or use the incredible “Auto Captions” feature. Auto Captions listens to your voiceover and automatically creates synced subtitles which is a game changer for Reels and TikTok where 70% of viewers watch without sound.
Customize your captions with fonts, colors, and animations. CapCut has a large font library and most trending caption styles (like the bold white-black outline style you see everywhere on TikTok) are available as presets.
Step 6 –> Effects, Filters & Color Enhancement
- Tap “Effects” for video effects body effects, glitch effects, cinematic effects, etc.
- Tap “Filters” to apply a color tone to your entire video. The “Film” and “Fresh” filter categories are popular for a clean, aesthetic look.
- For more control, tap on a clip and use “Adjust” to manually control brightness, contrast, saturation, sharpness, and more.
Step 7 –> Preview & Final Adjustments
Before you export, always do a full preview from start to finish. Check for:
- Awkward cuts or jump cuts
- Audio levels (music vs voice balance)
- Text that disappears too early or too late
- Any shaky or blurry clip you might have missed
Make your final tweaks, then you are ready to export.
How to Edit TikTok Videos & Reels in CapCut? (Optimized Method)
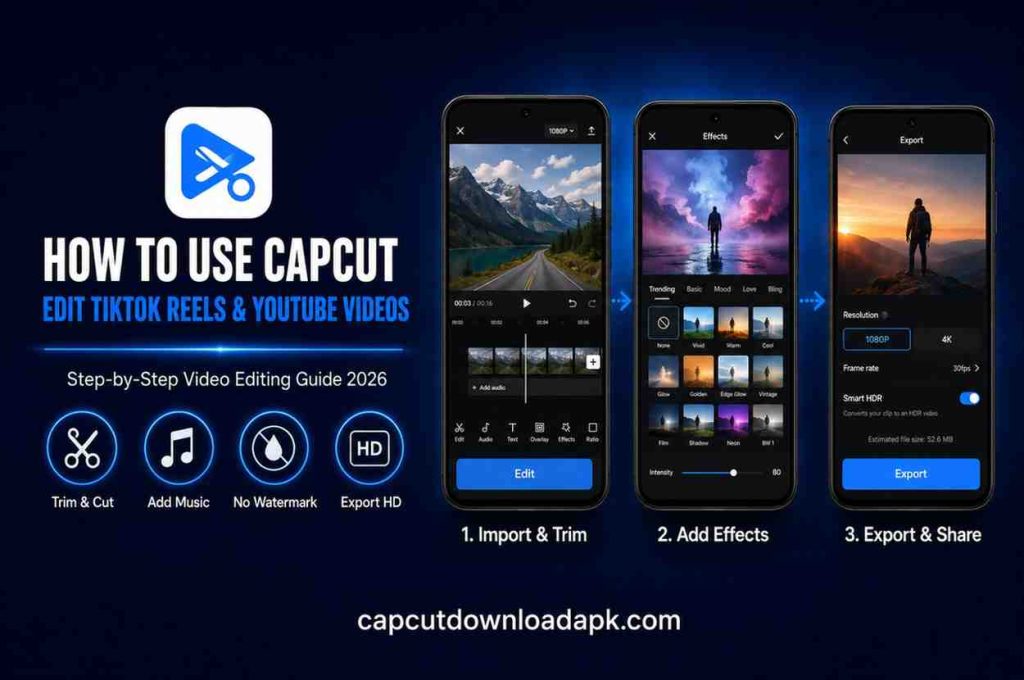
Editing for TikTok and Instagram Reels is different from editing a regular video. The platform rewards specific editing styles, and understanding this is what separates average creators from viral ones.
Best Aspect Ratio: Always use 9:16 vertical format (1080×1920 pixels). This fills the full mobile screen and gets priority in the TikTok and Instagram algorithm.
Trend-Based Editing Style: TikTok moves fast. Transitions, effects, and caption styles go in and out of trend weekly. Check the “Trending” section inside CapCut’s template library to stay current.
Beat Sync for Viral Content: Use CapCut’s built-in beat sync feature under the Audio section. When your cuts hit exactly on the beat drop or rhythm, viewers feel it and it keeps them watching longer.
Hook Creation The First 3 Seconds Strategy: The opening 3 seconds of your video decide if someone scrolls past or watches. Start with a bold statement, an unexpected visual, or a question. Avoid slow intros. I personally start every TikTok with the most interesting moment from the video like a movie trailer.
How to Edit YouTube Videos Using CapCut?
CapCut works very well for YouTube Shorts, and also for standard YouTube videos if you want a mobile-first workflow.
Long-Form vs Short-Form Editing: For YouTube Shorts, the same TikTok workflow applies vertical, fast-paced, hook in first 3 seconds. For regular YouTube videos, use 16:9 aspect ratio and focus on pacing give the viewer time to absorb information instead of cutting every second.
Storytelling Structure for YouTube: A good YouTube video has a hook, a body (the actual content), and a clear ending or call to action. CapCut’s timeline makes it easy to structure this I often use colored text markers in the timeline to label my intro, middle, and outro sections.
Thumbnail Frame Selection: CapCut lets you pick any frame from your video as a cover image. Tap the cover/thumbnail option at the start of your timeline. Choose a frame where you look expressive and the lighting is good this thumbnail will show up in search results.
Professional Pacing Techniques: Cut out dead air aggressively. If you are talking on camera, remove every pause longer than half a second. YouTube viewers are patient compared to TikTok, but they still lose interest fast if the pace drags.
Pro CapCut Editing Tips (For Advanced Creators)
Once you have the basics down, these tools will level up your content significantly.
Keyframe Animation: Tap a clip, then tap the diamond icon (◆) at the bottom. A keyframe is placed at your playhead position. Move to a different spot on the timeline, then change a property (like position, scale, or opacity). CapCut automatically animates the change between the two keyframes. This is how creators make text that moves, zooms, or fades smoothly.
Speed Ramping for Cinematic Edits: Tap a clip, go to “Speed”, then tap “Curve”. You can create custom speed curves that go from slow motion to fast motion within a single clip. The “Montage” and “Hero” presets are great starting points.
AI Tools: CapCut now has a strong set of AI features:
- Auto Captions: generates subtitles from your voiceover in seconds.
- Background Remover: removes the background from video clips without a green screen.
- Enhance: sharpens and improves low-quality footage automatically.
- AI Portrait: applies effects specifically to the person in the frame.
Export Quality Optimization: Tap the settings icon (⚙️) next to the Export button before exporting. For best results:
- TikTok/Reels: 1080p, 30fps, High bitrate
- YouTube Shorts: 1080p, 60fps if possible, High bitrate
- YouTube standard: 1080p or 2K, 30fps or 60fps
Avoiding Common Beginner Mistakes:
- Do not stack too many effects one or two is enough.
- Do not use copyrighted music for YouTube monetized videos. Use CapCut’s royalty-free library.
- Always export at the highest quality. You can always compress later, but you cannot recover lost quality.
Common CapCut Problems & How to Fix Them?
Export Failed or Stuck: Close the app, clear its cache (Settings > Apps > CapCut > Clear Cache), and try exporting again. If the issue persists, try lowering the export resolution temporarily.
Lagging or Crashing: Too many high-resolution clips on one timeline can overwhelm older phones. Try splitting your project into smaller segments and merging them after export.
No Internet / Template Loading Issue: CapCut requires an internet connection to load templates and some effects. Toggle your WiFi or mobile data off and on. If you are in a region where CapCut is restricted, a VPN can help restore access.
Audio Sync Issues: This usually happens when you import a video with a variable frame rate (VFR). Record your videos in a fixed frame rate (30fps or 60fps) setting on your phone’s camera app to avoid this.
Best Export Settings for TikTok, Reels & YouTube
Getting your export settings right is the final step before uploading and it directly affects how your video looks on each platform.
| Platform | Resolution | Frame Rate | Format | Aspect Ratio |
| TikTok | 1080 x 1920 | 30fps | MP4 | 9:16 |
| Instagram Reels | 1080 x 1920 | 30fps | MP4 | 9:16 |
| YouTube Shorts | 1080 x 1920 | 60fps | MP4 | 9:16 |
| YouTube Standard | 1920 x 1080 | 30 or 60fps | MP4 | 16:9 |
Always set bitrate to “High” in CapCut’s export panel. This keeps your video sharp even after the platform recompresses it during upload.
FAQ’s
Is CapCut free for TikTok and YouTube editing?
Yes, CapCut is completely free to download and use. Most features including auto captions, background remover, and effects are available without any subscription. CapCut Pro unlocks additional premium templates and effects, but the free version is more than enough for most creators.
Can I use CapCut for monetized YouTube videos?
Yes, you can use CapCut to edit monetized YouTube videos. However, make sure you only use music from CapCut’s royalty-free library or your own audio for monetized content. Some music tracks inside CapCut may have licensing restrictions on certain platforms.
What is the best video format for Reels in CapCut?
Export at 1080 x 1920 pixels, MP4 format, 30fps, with High bitrate. This is the standard Reels format and gives the best quality after Instagram’s own compression.
Does CapCut reduce video quality after export?
CapCut itself does not reduce quality if you export at High bitrate settings. Some quality loss happens when the platform (TikTok, Instagram, YouTube) compresses your video after upload that is normal for all platforms, not specific to CapCut.
Conclusion
CapCut is genuinely one of the best free tools available for creators in 2026 especially if you are in India, Pakistan, or anywhere across South Asia where mobile-first content creation is booming. I have personally used it to edit everything from quick 15-second TikToks to 10-minute YouTube videos, and the workflow gets faster every time.
The key is to not try to learn everything at once. Start with the basic trim-and-cut workflow, add audio and captions, then slowly explore effects, keyframes, and speed ramping as you get comfortable. Every viral creator you see on TikTok started with a shaky first video what separates them is that they kept editing, kept learning, and kept posting.
Now open CapCut PC, pick a clip from your phone gallery, and start your first project. You are one edit away from your best video yet.