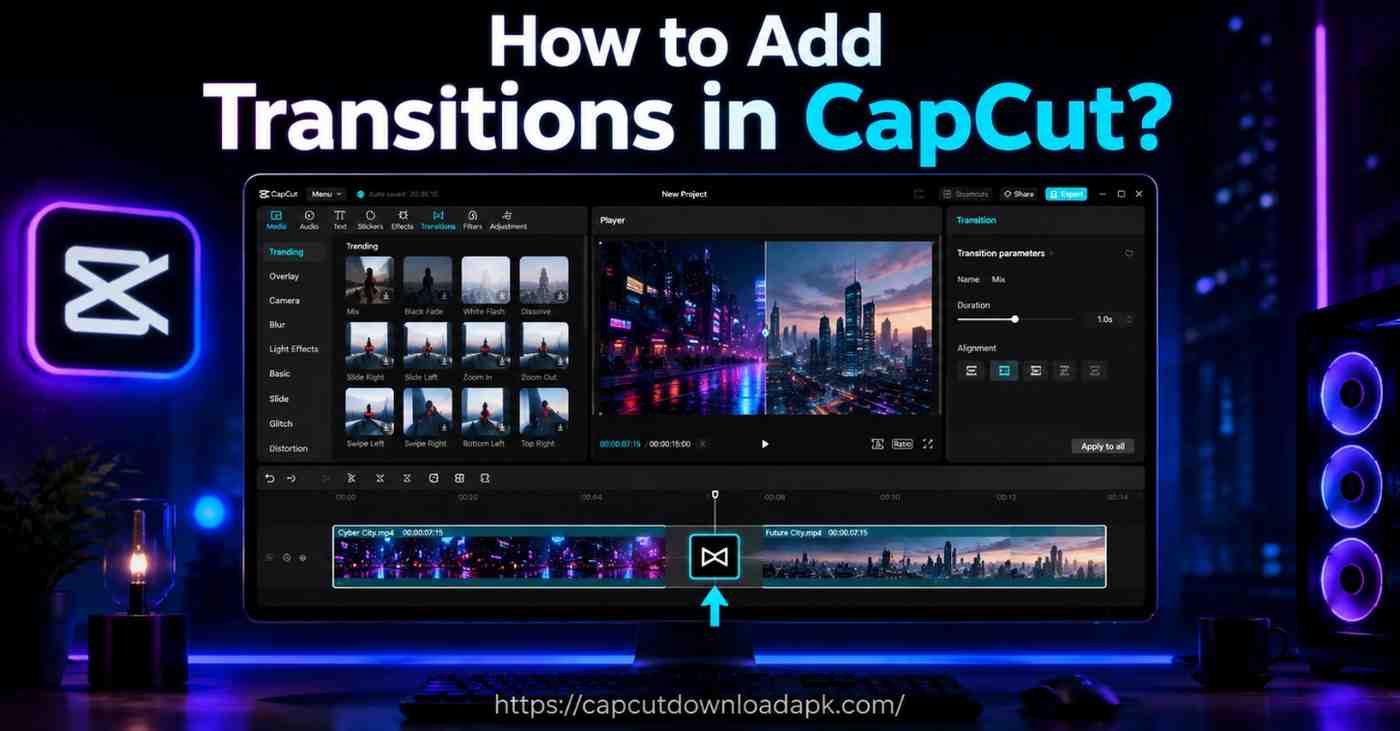
How to Add Transitions in CapCut? Step-by-Step Guide for Mobile & Desktop (2026)
The first time I added a transition in CapCut APK, I genuinely didn’t expect it to make such a difference. I had two clips sitting next to each other, cut together with nothing in between, and the video just felt flat. I dropped in a simple fade between them, previewed it, and that one small change made the whole edit feel like it belonged on a real channel instead of a phone gallery. That’s the moment I started taking transitions seriously, and it’s also why I’m writing this guide the way I wish someone had written it for me back then.
If you’ve been wondering how to add transitions in CapCut, on your phone or on your computer, you’re in the right place. This guide on how to add transitions in CapCut covers both platforms step by step. I’ll walk you through the exact steps I use, explain why transitions matter, show you which ones actually work for different types of content, and cover the mistakes that quietly ruin otherwise good edits.
What Are Transitions in CapCut?
Before getting into how to add transitions in CapCut step by step, it helps to know what they actually are. A transition in CapCut is the small visual effect that sits between two clips and controls how one scene moves into the next. This is the foundation you need before learning how to add transitions in CapCut on either mobile or desktop. Instead of a video jumping abruptly from clip A to clip B, a transition softens, blends, or stylizes that change so the cut feels intentional rather than accidental.
What Do Video Transitions Do?
In practical terms, a transition is the bridge between two pieces of footage. It can fade one scene into another, push a new clip in from the side, zoom the viewer’s eye into the next shot, or add a quick burst of motion that disguises the cut entirely. CapCut places this transition icon directly between two clips on the timeline, so you always know exactly where it’s being applied.
Why Use Transitions in CapCut Videos?
I’ve noticed that the videos which keep people watching longer almost always have one thing in common: the cuts don’t feel like cuts. That’s exactly why so many creators search for how to add transitions in CapCut in the first place. Transitions help with that in a few specific ways.
They smooth out jumpy edits, especially when you’re combining footage shot at different times or angles. They add rhythm to fast-paced content like reels and shorts, where the pacing itself becomes part of the entertainment. They also give your videos a more polished, professional look without requiring any advanced editing skill, which is exactly why CapCut built this feature to be so accessible from the very first clip you import.
How to Add Transitions in CapCut on Mobile?
Most of my own editing happens on my phone, simply because that’s where the footage already is. If you want to know how to add transitions in CapCut on your phone specifically, here’s the process I follow every time.
Step 1: Import Your Video Clips
Open CapCut and start a new project. Import at least two clips, since a transition can only exist between two pieces of footage, not on a single clip by itself. Arrange them on the timeline in the order you want them to play.
Step 2: Open the Transition Menu
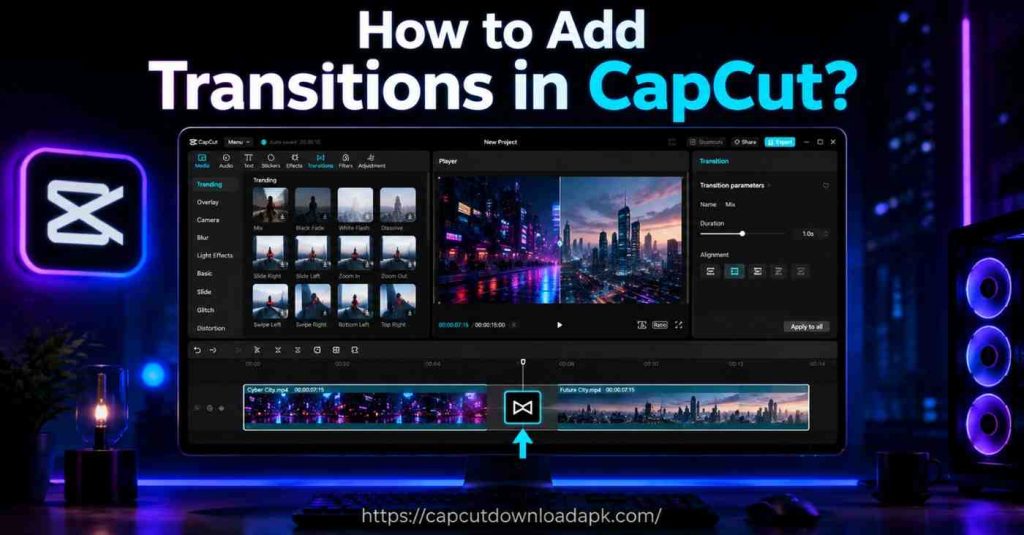
Look closely at the gap between two adjacent clips on your timeline. You’ll see a small square icon sitting right at that junction. Tap it, and CapCut opens a full menu of transition styles, grouped by category, such as Basic, Movement, Blur, Glitch, and more.
Step 3: Preview Different Transition Effects
This is the step I never skip. Tap each transition you’re considering and CapCut will show you a quick preview right there in the menu. I usually try three or four options before settling on one, because a transition that looks great in theory doesn’t always suit the actual footage.
Step 4: Adjust Transition Duration
Once you’ve picked an effect, a duration slider appears. Dragging it left makes the transition quicker and sharper; dragging it right stretches it out for a slower, more dramatic blend. For fast-cut content like TikToks, I keep this short. For travel or vlog footage, a slightly longer duration tends to feel more cinematic.
Step 5: Apply and Save Changes
You can apply the same transition to every clip junction for a consistent style throughout the video, or pick different ones for variety. Once you’re happy with how it plays back, export the project, and your transitions are locked into the final video.
How to Add Transitions in CapCut on Desktop?
When I’m editing something longer, a YouTube video or a client project, I switch to CapCut on desktop because the bigger timeline makes fine control much easier. The logic of how to add transitions in CapCut stays the same here, just with a few extra controls.
Import Media into the Timeline
Launch CapCut on your computer and import your footage. Drag the clips onto the timeline in your preferred sequence, just as you would on mobile, leaving them positioned next to each other.
Choose and Apply a Transition
In the top toolbar, open the Transitions panel. CapCut’s desktop version organizes effects into the same categories you’d find on mobile, and it includes a search bar so you can type a transition name directly if you already know what you’re after. To apply one, either click the plus icon on the effect or drag it straight onto the gap between two clips.
Customize the Transition Duration
Click on the transition block once it’s placed on the timeline, and a duration control appears. You can fine-tune the timing down to fractions of a second, which matters a lot when you’re syncing transitions to music beats. Desktop also offers an “Apply to All” option if you want one consistent style across the entire project.
Export the Final Video
Once everything looks right in the preview window, export your project. Desktop exports typically offer more control over resolution and bitrate, which is useful if the final video is heading to YouTube or a client.
Different Types of Transitions in CapCut
Once you know how to add transitions in CapCut, the next step is picking the right one. CapCut comes packed with built-in transitions, and knowing what each category is actually good for saves a lot of trial and error.
Basic Transitions
Fade, dissolve, and crossfade fall here. These are subtle and work for almost any content where you want a smooth, natural change between scenes.
Camera Transitions
These mimic real camera movement, like a quick pan or whip, and work especially well in vlogs or travel footage where you want the transition to feel like part of the filming itself.
Slide & Swipe Transitions
One clip pushes the other off-screen, left, right, up, or down. These are popular in product videos and tutorials because they clearly signal “next point” to the viewer.
Zoom Transitions
A rapid zoom into the next scene creates a dramatic, attention-grabbing effect. I use these often in reels where I want a strong visual hook between two segments.
Blur Transitions
Motion blur or Gaussian blur effects work well for fast-paced edits, particularly gaming or action content, where the slight visual distortion hides the cut almost completely.
Glitch Transitions
RGB glitches and digital noise give an edgy, tech-inspired feel. These suit gaming channels, tech reviews, and anything with a modern, high-energy tone.
3D & Creative Transitions
Cube rotations, page turns, and fold effects add a more stylized, almost animated quality. They stand out, so they’re best used sparingly for moments that genuinely deserve extra emphasis.
Tips for Making Smooth Transitions in CapCut
Knowing how to add transitions in CapCut is one thing, but making them actually look smooth is a separate skill.
Match Clip Timing
A transition only looks natural when the footage around it supports the timing. If one clip is static and the next is full of motion, even a well-chosen transition can feel mismatched.
Avoid Overusing Effects
I learned this one the hard way early on, using a different flashy transition on every single cut. It exhausted viewers instead of impressing them. One or two consistent styles per video almost always looks more professional than a different effect every few seconds.
Choose Transitions That Fit Your Content
A calm vlog doesn’t need a glitch transition, and a high-energy gaming clip rarely benefits from a slow fade. Matching the transition style to the tone of your content keeps the edit feeling cohesive rather than random.
Common Transition Mistakes to Avoid
Even after learning how to add transitions in CapCut, a few small mistakes can still make the final video feel off. The most frequent mistake I see is duration mismatch, transitions left too long for fast content or too short for slower, cinematic footage. Another common issue is inconsistency, mixing too many transition styles within one video so nothing feels unified. Finally, many editors forget to preview the full sequence before exporting, only to discover a transition timing issue after the video is already published.
Best CapCut Transitions for Different Video Types
Once you’ve nailed how to add transitions in CapCut, the next question is which ones actually fit your content type.
TikTok Videos
Quick zooms, slides, and glitch cuts suit TikTok’s fast pacing and short attention span best.
Instagram Reels
Smooth swipe and zoom transitions work nicely here, especially when timed to match trending audio.
YouTube Shorts
A mix of basic fades and subtle zooms tends to perform well, keeping the pacing energetic without feeling chaotic.
Travel Videos
Camera-style transitions and slow dissolves give travel content that cinematic, documentary feel.
Vlogs
Simple fades and crossfades usually work best, letting the personality of the content carry the video rather than the effects.
Why Are Transitions Not Working in CapCut?
If you’ve followed the steps on how to add transitions in CapCut and it still isn’t working, the issue usually falls into one of these categories.
Transition Option Missing
If the transition icon doesn’t appear between clips, check that you actually have two separate clips positioned next to each other on the timeline. A single, unsplit clip won’t show a transition point.
Transition Not Applying
Sometimes a transition appears selected but doesn’t show in the preview. Try removing it and reapplying, or restart the app if the timeline seems to be lagging.
App Lag or Compatibility Issues
In capcut mod apk old version heavier transitions like 3D or glitch effects can cause stutter during preview. Updating CapCut to the latest version usually resolves this, and exporting often plays smoother than the in-app preview anyway.
Frequently Asked Questions
Here are some quick answers to the questions people ask most often about how to add transitions in CapCut.
Can I Add Transitions in CapCut for Free?
Yes, CapCut offers a wide range of transition effects completely free, covering basic, slide, zoom, and several creative categories without needing a premium subscription.
How Do I Change Transition Duration?
Tap or click the transition icon on the timeline, then use the duration slider that appears to make it shorter or longer based on your footage’s pacing.
Can I Add Different Transitions Between Clips?
Yes, you can apply a different transition style at every clip junction, or use the “Apply to All” option if you’d rather keep one consistent style throughout.
Which Transition Is Best for Beginners?
Fade and crossfade are the easiest to start with since they suit almost any footage and never feel out of place, even if you’re still learning how editing rhythm works.
Does CapCut Desktop Have the Same Transition Effects as Mobile?
Yes, CapCut keeps its transition library consistent across mobile and desktop, though desktop gives you finer timing control and a search bar to find specific effects faster.
Final Thoughts
By now you should have a clear answer to how to add transitions in CapCut, whether you’re editing on mobile or desktop. Transitions are one of those small details that quietly separate a rough cut from a finished, watchable video. Once you get comfortable with where to find them, how to preview effects, and how to time the duration properly, adding transitions in CapCut becomes second nature within just a few projects. Start simple, stick to one or two styles per video, and let the transitions support your content instead of overshadowing it.