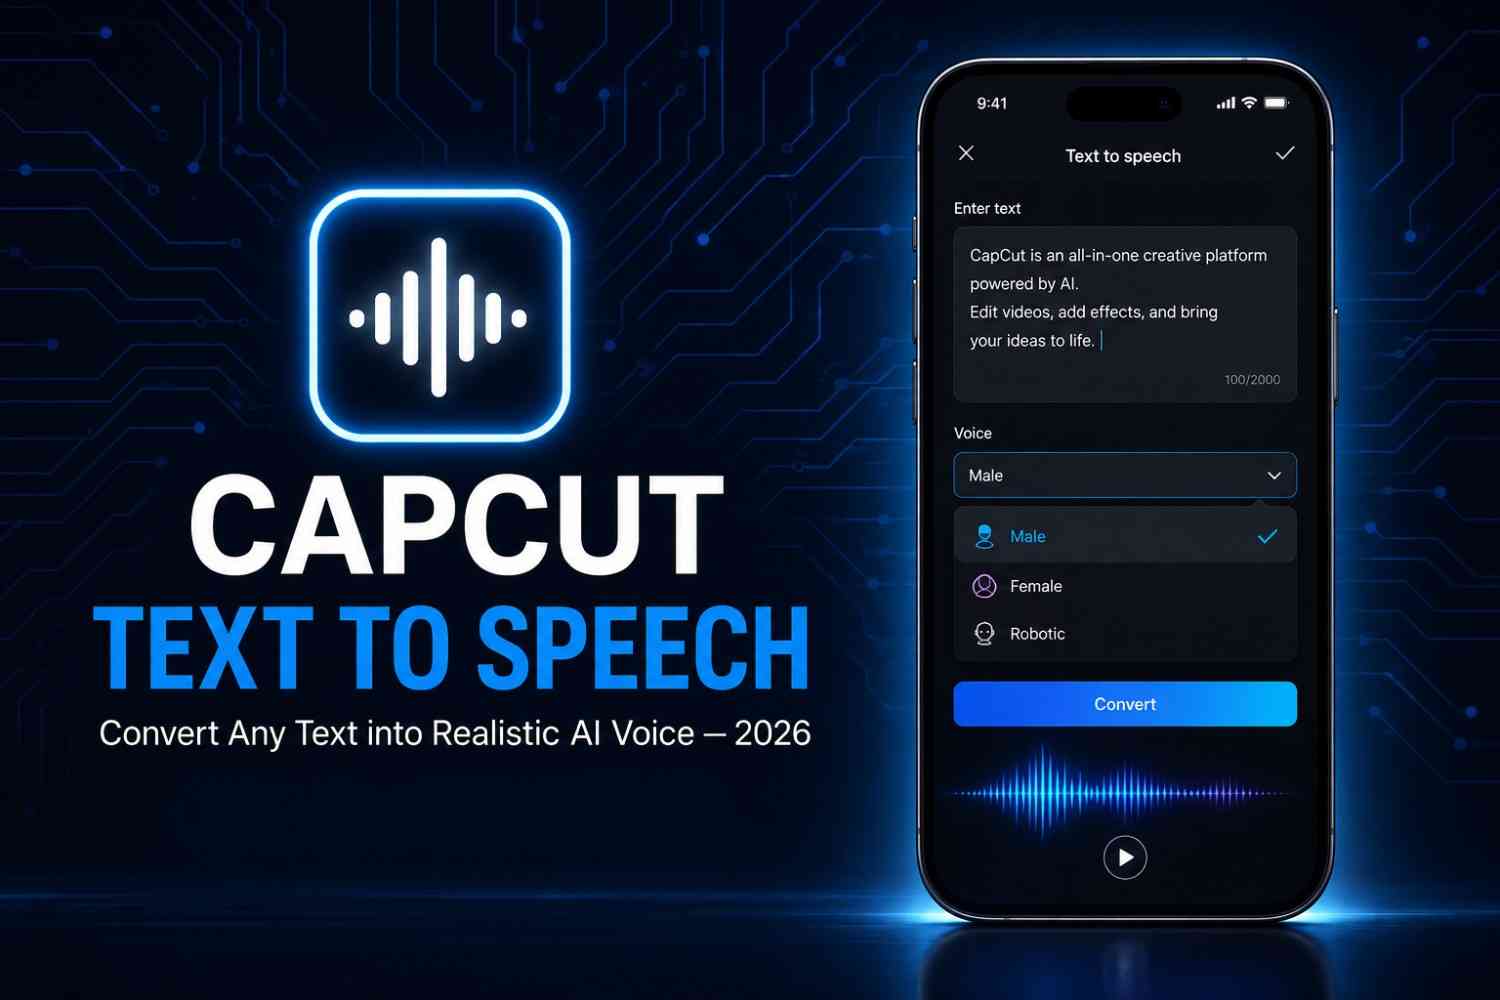
How to Convert Text to Speech in CapCut? (Step-by-Step Guide)
I still remember the first time I tried to record a voiceover for a CapCut project. I sat in my room at midnight, phone propped against a stack of books, whispering into the mic so I wouldn’t wake anyone up and the audio still came out shaky, breathy, and honestly kind of embarrassing. That was the night I gave up on recording my own voice and started using Text to Speech in CapCut instead. Three years and probably a hundred videos later, it’s still the feature I open first whenever I start a new project.
If you’ve landed here because you typed “how to convert text to speech in CapCut” into Google, you’re in the right place. I’m going to walk you through exactly how I do it from opening the app to fixing the annoying glitches nobody warns you about using nothing but what I’ve learned from actually doing it, over and over, on both my phone and my laptop.
What Is Text to Speech in CapCut?
Text to Speech (TTS) in CapCut is a built-in AI voice tool that reads your typed words out loud and turns them into a natural-sounding voiceover. Instead of recording yourself, you type your script, pick a voice, and CapCut generates the audio for you automatically. It sits right inside the editing timeline, so you never have to leave the app or use a third-party voice generator.
How the Text-to-Speech Feature Works?
Under the hood, CapCut’s TTS uses AI voice models trained on real human speech patterns. When you type a sentence and hit convert, the app breaks your text into phonemes (the small sound units that make up words), predicts natural pauses and intonation, and then renders the whole thing as an audio clip that syncs directly to your timeline. What used to take a recording studio now takes about ten seconds on your phone.
When to Use AI Voice Narration in Videos?
I reach for TTS whenever I’m making tutorials, product explainers, faceless content, or anything where my own voice would either be inconsistent or just not the right fit. It’s also a lifesaver on days when I’ve got a cold, when I’m editing late at night, or when a script needs to be re-recorded five times because I keep changing my mind about the wording. Typing an edit takes seconds; re-recording a whole take doesn’t.
Why Convert Text to Speech in CapCut?
There’s a reason this feature has quietly become one of the most-used tools in the app, and it’s not just laziness it genuinely changes how fast and how well you can produce content.
Create Engaging Videos Without Recording Your Voice
Not everyone is comfortable on mic, and that’s completely fine. Converting text to speech in CapCut lets you produce polished, professional-sounding videos without ever pressing the record button on your own voice. I’ve built entire YouTube shorts channels this way, and viewers rarely notice or care that it’s an AI voice.
Save Time While Editing Content
This is the big one for me. Recording, re-recording, cutting out breaths, removing background noise that whole process used to eat up half my editing time. Now I write the script directly in the text box, generate the voice, and move straight to visuals. What used to take an hour takes closer to ten minutes.
Improve Accessibility for Viewers
Adding a spoken narration alongside your captions genuinely helps people who struggle with reading on-screen text quickly, who have visual impairments, or who simply prefer listening while multitasking. It’s a small addition that makes your content usable for a much wider audience.
Perfect for Social Media, Tutorials, and Business Videos
Whether I’m making a quick Instagram Reel, a step-by-step tutorial, or a product demo for a small business client, TTS fits almost every format. Business owners especially like it because it keeps every video sounding consistent, even if five different people are writing the scripts.
Things to Check Before Using Text to Speech
Before you dive in, a few quick checks will save you from the most common headaches I ran into early on.
Update to the Latest CapCut Version
CapCut updates its voice library fairly often, and older app versions sometimes miss out on newer voices or lag behind on bug fixes. I make it a habit to update before starting any project that leans heavily on TTS.
Stable Internet Connection
Because the AI voice is generated on CapCut’s servers rather than on your device, you’ll need an active internet connection for the conversion to work. A weak signal is usually the reason the feature seems to “freeze” or take forever to process.
Supported Devices and Platforms
Text to Speech works across CapCut Mobile (Android and iOS), CapCut Desktop, and the CapCut online editor, so you can start a project on your phone and finish it on your laptop without losing the voiceover.
How to Convert Text to Speech in CapCut?
This is the part you came for. Here’s the exact process I follow every single time, whether I’m on mobile or desktop the steps are nearly identical on both.
Step 1: Open CapCut and Create a New Project
Launch the app and tap “New project.” Choose the video or images you want to work with from your gallery, or start with a blank canvas if you’re building the visuals from scratch.
Step 2: Add Your Video or Background
Import your footage, images, or a simple colored background onto the timeline. I usually rough-cut my visuals first so I know roughly how much time I have to fill with narration.
Step 3: Insert Your Text
Tap the “Text” tool and type out your script. I like to keep each text box to a single sentence or a short phrase it makes editing and timing so much easier later on.
Step 4: Select the Text-to-Speech Option
With your text box selected, tap the “Text-to-Speech” button that appears in the toolbar (on desktop, you’ll find this in the right-hand panel under the text settings). This is the exact moment your typed words get queued up for conversion.
Step 5: Choose an AI Voice
CapCut will show you a library of voices different tones, accents, and styles, from warm and conversational to energetic and upbeat. Tap a voice to preview it, and pick the one that matches your content. I usually test two or three before settling on one.
Step 6: Preview and Adjust the Narration
Play back the generated audio against your visuals. If the timing feels off, trim the clip, adjust the text, or re-space your sentences. This step is where most of my “polish” time goes small tweaks here make a big difference in the final product.
Step 7: Export and Share Your Video
Once you’re happy with how it sounds, tap “Export,” choose your resolution and format, and save the video to your device or share it directly to social media.
Best Tips for Natural AI Voice in CapCut
After generating narration for more videos than I can count, here’s what actually makes the AI voice sound less “robotic” and more human.
Keep Sentences Short and Clear
Long, winding sentences confuse the pacing engine and can make the voice sound rushed or monotone. I break my script into short, punchy lines it reads more naturally almost every time.
Use Punctuation for Better Pronunciation
Commas and periods aren’t just grammar rules here they tell CapCut’s AI exactly where to pause and breathe. Adding a comma in the right spot can turn a flat, rushed line into something that sounds genuinely conversational.
Match the Voice with Your Content Style
A playful, high-energy voice on a serious financial explainer feels off, just like a calm, slow voice feels wrong on a hype-driven product launch. I always match the tone of the voice to the tone of the content before locking it in.
Preview Before Exporting
I’ve learned this one the hard way always listen to the full narration before exporting. Small mispronunciations or awkward pauses are far easier to catch and fix at this stage than after the video is already rendered and shared.
Common Text-to-Speech Issues and Fixes
Even with a tool this smooth, a few hiccups pop up now and then. Here’s how I’ve dealt with the ones I run into most.
Text-to-Speech Option Not Showing
This almost always comes down to an outdated app version or a text box that isn’t properly selected. Update CapCut, tap directly on the text layer, and the option should reappear in the toolbar.
AI Voice Not Generating
Usually a connectivity issue. Check your internet connection, close and reopen the app, and try the conversion again. If it still fails, clearing the app’s cache often clears it up.
Incorrect Pronunciation
For tricky words, brand names, or abbreviations, try spelling them phonetically in the text box (for example, writing out an acronym letter by letter). It’s a small workaround, but it fixes the vast majority of pronunciation issues I’ve hit.
Audio Out of Sync with the Video
If the narration drifts from your visuals, trim the generated audio clip to match your scene lengths, or split your script into smaller text boxes so each one lines up with its matching visual segment.
CapCut Text to Speech vs Recording Your Own Voice
I get asked this a lot, so here’s the honest breakdown from someone who’s done both, extensively.
When AI Voice Is the Better Choice?
If you’re producing content at volume, editing late at night, working in a noisy environment, or simply don’t want to be the “face” of your channel, AI narration wins every time. It’s fast, consistent, and endlessly editable change one word in the text and regenerate, no re-recording required.
When Human Voice Works Best?
For deeply personal storytelling, vlogs, or content where your actual personality and warmth are the whole point, nothing beats your real voice. I still record myself for anything that feels emotional or personal TTS is a tool, not a replacement for authenticity when authenticity is the goal.
Frequently Asked Questions
Can I convert text to speech in CapCut for free?
Yes. The core Text-to-Speech feature is available on CapCut’s free plan across mobile, desktop, and the online editor, with a solid selection of voices to choose from at no cost.
Does CapCut support different AI voices?
Absolutely. CapCut offers a wide voice library covering different tones, genders, accents, and styles, so you can match the narration to whatever kind of video you’re making.
Can I use Text-to-Speech on Android, iPhone, and PC?
Yes, the feature works across CapCut Mobile (Android and iOS), CapCut Desktop, and CapCut’s online video editor, so you’re not locked into one device.
Why is the Text-to-Speech feature missing in CapCut?
This usually happens with an outdated app version or a text layer that isn’t selected properly. Updating the app and re-selecting your text box almost always brings the option back.
Can I edit the AI voice after generating it?
You can’t manually re-record the AI’s tone, but you can edit the underlying text and regenerate the voice, trim the audio clip, or adjust its position and speed on the timeline until it fits exactly right.
Conclusion
Converting text to speech in CapCut App turned out to be one of those small workflow changes that ended up saving me hours every single week. It’s not about replacing your voice entirely it’s about having a fast, reliable option for the videos that don’t need it. Once you’ve gone through the steps a couple of times, generating a full narration takes less time than making a cup of tea. Type your script, pick a voice, preview it, and export that’s really all there is to it.
If you haven’t tried it yet, open CapCut, type out a single sentence, and hit convert. That one small test is usually all it takes to see why so many creators have made it a permanent part of their editing process.