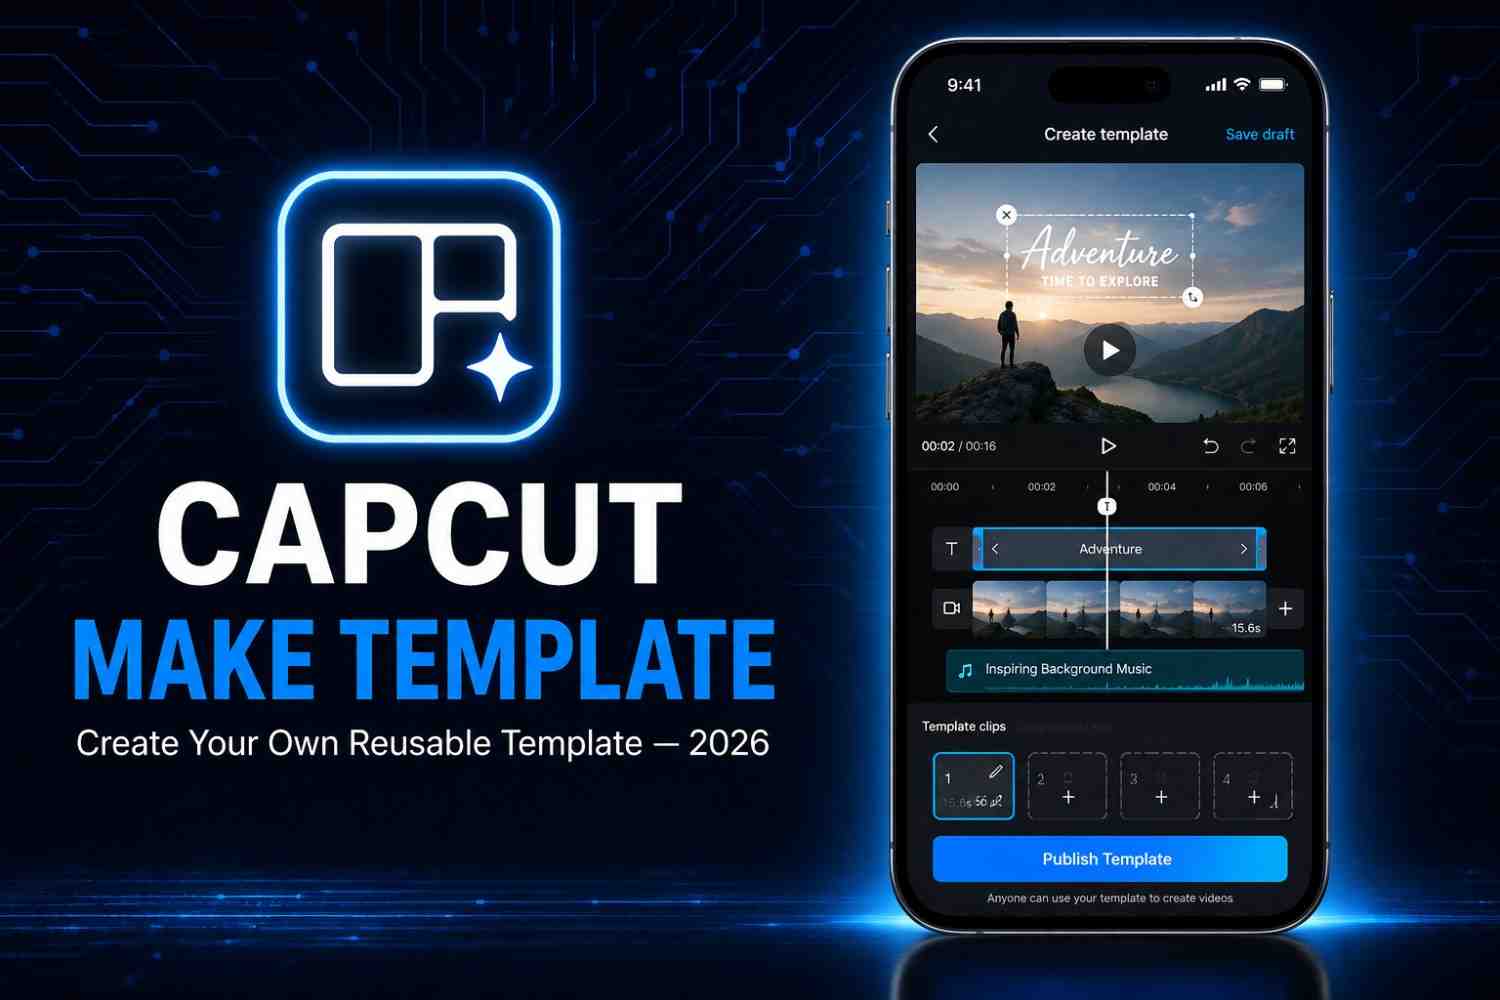
How to Make a CapCut Template? (Step-by-Step Guide)
I still remember the first time one of my CapCut templates crossed a hundred thousand uses. It was a simple travel-reel layout I built in about twenty minutes, mostly because I got tired of re-doing the same transitions every time I posted a new trip video. That’s really what pushed me to figure out how to make a CapCut template properly instead of just editing one clip at a time and once I understood the workflow, I ended up building dozens of them, some that flopped, some that took off, and a lot of lessons in between.
If you’ve ever watched a trending reel and thought “I want my videos to look exactly like that,” you already understand the appeal. This guide walks you through every step to build one from scratch, based on what actually works, not just what the menu options say.
What Is a CapCut Template?
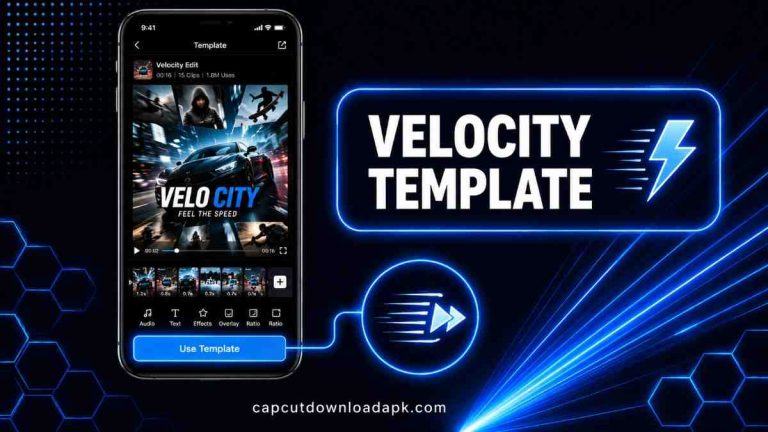
A CapCut template is a pre-built editing project timeline, transitions, music, and text already arranged where you only need to drop in your own clips or photos to get a finished video. Instead of editing from zero every time, the structure is already done for you.
How CapCut Templates Work?
When you open a template, CapCut shows you empty slots (called placeholders) laid out on a timeline that already has effects, transitions, and music attached to it. You simply tap each slot, add your own footage, and the app fits it into the pre-set timing and style automatically. Nothing about the pacing or effects changes only the raw content does.
Why Creators Use Templates?
Templates save time, plain and simple. I’ve used them for clients who needed five videos in a single afternoon, and instead of editing each one from scratch, I built one solid template and reused it with different footage. Beginners like them because they don’t need to understand transitions or beat-matching, and creators with an audience like them because a recognizable style builds brand consistency across every post.
Things You Need Before You Make a CapCut Template
Before you even open the app, a bit of prep saves you from redoing work later. This is the part most tutorials skip, and it’s usually where people get stuck.
Update CapCut to the Latest Version
Older versions of CapCut sometimes hide or remove the “Save as Template” option entirely, which is frustrating if you’ve already spent an hour editing. Check your app store for updates first it takes two minutes and avoids a headache later.
Prepare Your Videos, Photos, and Audio
Gather the clips, images, and music you’ll use to design the template before you start. I usually keep a separate folder just for template assets, because mixing them with random phone photos makes the timeline messy and slows everything down.
Plan the Template Structure
Decide roughly how many clips your template will hold, how long each segment runs, and what mood or trend it fits. A template built around a fast-paced dance trend needs a completely different rhythm than one designed for a slow travel montage.
How to Make a CapCut Template?
This is the actual build process, whether you’re working on CapCut mobile or CapCut on PC the steps line up closely on both.
Create a New Project
Open CapCut and start a new project. On desktop, turn on “Copy Media to Project” so your files stay organized inside the project folder instead of scattering across your drive.
Add Your Media Files
Import the clips, photos, or audio you prepared earlier. Drag them onto the timeline in the rough order you want them to appear.
Arrange the Timeline
Trim each clip to the length you want and space them out so the template has clear, empty sections other people can later fill with their own footage. Leaving room here is what actually makes it a reusable template instead of a one-off edit.
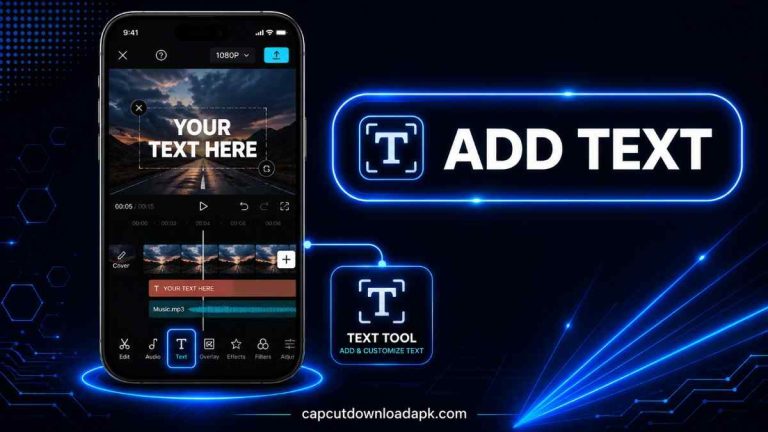
Add Text Placeholders
Insert text boxes where captions, names, or dates should go later. Keep the font and position consistent, since anyone using your template will only be swapping the words, not redesigning the layout.
Apply Transitions and Visual Effects
Add transitions between clips to keep the flow smooth. I’d stick to two or three effects at most templates loaded with flashy transitions often look busy rather than polished, and they’re harder for other users to sync with their own clips.
Add Music and Adjust Beat Sync
Drop in your audio track and line up your cuts with the beat drops. This single step is usually what separates an average template from one that actually feels satisfying to watch.
Use Overlays and Stickers (Optional)
Overlays like light leaks, grain, or stickers can add polish, but they’re optional. Lower the opacity if you use them so they enhance the footage instead of covering it.
Preview and Fine-Tune the Template
Play the whole template through from start to finish. I always catch at least one mismatched transition or slightly off beat during this step, so don’t skip it even if you’re in a hurry.
Export the Project
Once everything looks right, export the project and save it to your template folder on the device. This creates the base file you’ll turn into a shareable template next.
Publish or Upload Your CapCut Template
Head to the template upload section inside CapCut (usually under your profile or Creator tools), select your exported project, add a title and category, and submit it. Once approved, anyone can search for it and drop in their own footage using your exact layout.
Tips for Creating Better CapCut Templates
A few small habits make the difference between a template people use once and one that gets reused for months.
Keep the Design Simple
Simple templates get adopted faster because they’re easy to understand at a glance. Overcomplicated layouts with too many moving parts tend to confuse first-time users, and they’ll abandon it halfway through.
Use Trending Music Carefully
Trending audio boosts discoverability, but trends fade fast. If you want your template to stay relevant longer, pair it with music that has a strong beat rather than chasing whatever sound is trending this exact week.
Make Every Placeholder Easy to Replace
Label your placeholders clearly and keep them evenly spaced. If someone has to guess which slot goes where, they’ll likely give up and use a different template instead.
Test the Template Before Sharing
Run through it yourself with random clips before publishing. This is the step that catches sync issues, awkward cuts, or placeholders that don’t line up problems that are much harder to fix after people are already using it.
Common Problems When Making a CapCut Template
Even after building several templates, I still run into these issues occasionally. Here’s how to handle them.
Upload Option Not Available
This usually happens on outdated app versions or accounts that haven’t been verified yet. Update the app first, and if the option is still missing, check whether your region or account type supports template publishing.
Template Sync Issues
If the beat sync feels off after export, it’s often because a clip was trimmed slightly after the music was already aligned. Re-check your cuts against the audio waveform before your final export.
Export Errors
Export failures are usually tied to storage space or unsupported file formats. Clear some space, confirm your clips are in a standard format like MP4, and try exporting again.
Media Compatibility Problems
Some older photo or video formats don’t sit well inside CapCut’s timeline. Converting files to common formats beforehand avoids most of these glitches entirely.
Can Anyone Make a CapCut Template?
Yes. You don’t need a special creator badge or a paid subscription to build one the free version covers everything from building the timeline to exporting and uploading. The only real requirement is patience during the planning stage, since a well-structured template takes more thought than a regular one-time edit.
Conclusion
Learning this process isn’t complicated once you’ve done it a couple of times the hard part is planning it properly before you touch the timeline. Prepare your assets, keep the layout simple, sync your beats carefully, and test everything before you publish. Do that consistently, and you’ll end up with templates that people actually want to reuse, not just scroll past.
Frequently Asked Questions
How do I make a CapCut template from scratch?
Start a new project, add your clips and music, arrange the timeline with clear placeholder gaps, apply transitions, then export and upload it through the template publishing option.
Can I make a CapCut template without a Creator account?
Yes, a standard free CapCut account is enough to build and publish a template. A Creator account isn’t required for basic template uploads.
Why can’t I upload my CapCut template?
This is usually caused by an outdated app version, an unverified account, or a region restriction. Updating the app and checking your account settings resolves most upload issues.
Can I edit a CapCut template after publishing?
You can edit your own copy of the project and re-upload it as a new version, but the already-published template that others are using won’t update automatically.
Is creating CapCut templates free?
Yes, making and publishing CapCut templates is completely free and doesn’t require a paid subscription.